
How to Get Started in Photomicrography
There is a micro-universe all around us, but it is only seen by a few curious folks through photomicrography.
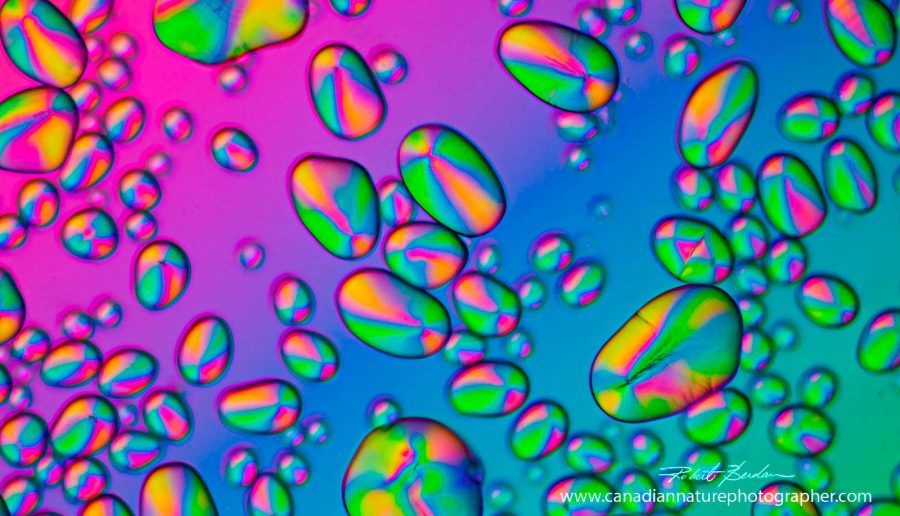
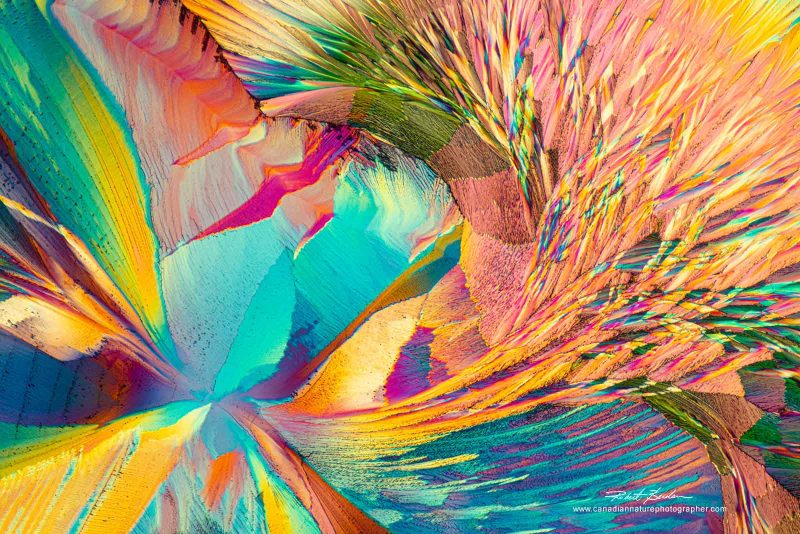
Taking pictures through a microscope is called photomicrography, and it opens up this universe to anyone who wants to explore it. This universe includes brilliantly colored crystals and unimaginable creatures.


Some of these tiny creatures can make us sick, while others produce the oxygen we breathe and are essential to life on the planet. This invisible universe exists in our homes, fridges, and backyards – everywhere we look.
To explore and photograph this unseen universe, all that is needed is a light microscope. To then document what you see, you need a camera. Even a cell phone camera is sufficient to start.
Here, I will describe how to get started in photomicrography, what equipment you need, and show some samples of the beauty revealed by a microscope.

Interestingly, compound microscopes with two lenses have been around since the 1600s. Famously, a flea was one of the first specimens drawn by Englishman Robert Hooke, in his book Micrographia in 1665. He observed the flea through a primative microscope (by modern standards).
Hooke was also the first to discover cells in a piece of cork.
Today, anyone can purchase a microscope for a few hundred dollars and start taking pictures. Used microscopes can be purchased for even less money.
Types of Light Microscopes
There are two basic types of light microscopes.
Stereo-microscopes
These are also called dissection microscopes, and provide low magnification (1 to 100X).
A dissection microscope is easy to use, requires no specimen preparation, and can be used to view almost anything, for example, coins, stamps, jewellery, insects, mushrooms, flowers, and rocks.
The specimen appears through a stereo-microscope in three dimensions, and specimens are usually illuminated from above.
Compound light microscopes
These offer magnifications between 2 to 1000X.

The compound microscope is used to examine thin specimens such as feathers, plant parts, yeast, animal cells, blood smears, pond water, bacteria, and crystals. Most biologists own both types of microscopes since they complement each other.
Microscopes with a trinocular head are designed for photography. Most microscopes offer bright-field lighting, which is white light (Fig. 2). Some specimens, like crystals, require polarized light. Most live cells require staining in order to be visible in white light.
However, there are other types of compound microscopes, e.g., those with phase contrast, that make live cells visible without staining.
Uses of microscope
A microscope, like a telescope, lets you see things that are not readily visible to the eye.

Microscopes are widely used in a variety of vocations, from medicine, research, and pharmaceutical industries, to forensic sciences, art restoration, and botany. They are also used by a growing number of amateur scientists and artists for exploring our natural world.
Before you consider buying a microscope, learn as much as you can about them and, if possible, test some. Seek help from microscopy clubs, universities, and colleges where they teach microscopy, and visit microscopy blogs and online resources.
Try to find someone who can give you advice and/or owns a microscope.
What is photomicrography?
Photomicrography is the process of taking pictures with a microscope. You can attach a digital camera, such as a cell phone, a digital single-lens reflex camera (DSLR), or a small C-mount camera, to the microscope.
C-mounts are screw-threaded lens mounts. Prices for these cameras start around $150 (90 GBP).
Beginners, including children, can take pictures with a microscope by simply hand-holding a cell phone in front of the eyepiece. For making movies, a cell phone adapter is recommended to hold the phone steady.

These camera adapters cost between $20 to about $150 (12-90 GBP) (see Fig. 13). Professional photo tubes can cost upwards of $1000 (600 GBP).
I attach my cameras to a computer via a USB (Universal Serial Bus) cord and use free software available online called Digicam Control (PC only). This software allows you to focus on the image enlarged on your computer screen and control the camera.
Digicam software captures pictures, movies, and even time-lapses. I capture RAW image files and then edit them in Adobe Photoshop.
For photomicrography, I prefer 35mm digital single-lens reflex cameras. The advantage is that they offer more megapixels for less money than dedicated cameras and can also be used for other types of photography like landscapes, wildlife, and portraits.
How to find and choose subjects
Potential subjects for photomicrography are all around us.

Start in your kitchen, look at cornstarch or a piece of squashed potato to view starch grains. Scrape the inside of your cheek and smear it on a glass slide to view your own cells. In your backyard, examine feathers, flower parts, pollen, or a plant section.
I found a new species of protozoa in my backyard by scraping lichen off a tree and soaking the lichen in water overnight in a dish. The next day, I found three species of water bears (Tardigrades) in the dish and a ciliate Propyxidium tardigradum growing on one of them.
After collecting rainwater from my roof, I found several amoebae and rotifers (microscopic organisms).

Check out the water in your bird bath or a pond. Pond water can contain hundreds or even thousands of different microorganisms. I visit ponds about once a week in summer to collect new specimens of algae and other microorganisms.


Photomicrography equipment
Two things are needed to take pictures with a microscope: a microscope with good optics and a camera.
Using a microscope is easy, but it helps to have someone show you for the first time how to focus on specimens and prepare them. Anyone can learn how to use a microscope in a few hours with some instruction.
A compound light microscope has two types of lenses. The objectives are usually 4, 10, 20, 40, and 100X lenses. The eyepieces are usually a 10X lens.

The final magnification is determined by the objective lens multiplied by the eyepiece lens, e.g. 10X objective x 10X eyepiece = 100X final magnification. As the magnification increases, the depth of field becomes shallower.
One way to increase the depth of field in a photo is to focus-stack images. This process involves taking several images while changing the focus and then combining the images in layers by aligning and blending them (e.g. Fig. 5).
Photoshop and Helicon Focus are two programs I use.
Objective lenses vary in quality and price. Achromat objectives are fine to start taking pictures, but plan achromat objectives produce images that are sharp and flat out to the edge of the lens and are better for photography.
“Achromat” indicates the lens is corrected for chromatic aberration in two colors and spherical aberration in green light.
As we are interested in photographing what we see, it also helps to have image post-processing skills and an understanding of what makes a good composition.
Combating vibration
The main problem in photomicrography is the vibration of the camera and microscope while taking pictures.
Here are some ways to reduce its impact:
1. Put the microscope on a solid table and place a rubber mat beneath it. I use 1/4-inch-thick rubber flooring tiles sold for use in gyms. They can be cut to size and are inexpensive.
2. C-mount cameras offer little vibration while taking pictures.

3. DSLR cameras can be used in “Live View mode” where the mirror is locked and minimizes camera vibration.
4. Using fast shutter speeds or long shutter speeds (e.g., >1 sec) reduces the effect of vibration. To capture fast-moving organisms, an electronic flash can be used – see below.
How to set up a microscope for photomicrography
To take pictures, a camera needs to be attached to a microscope. Microscopes with a trinocular head are preferred.
Eyepieces for photomicrography can vary from 2.5X to 10X. The best eyepieces project a flat image to the camera, but almost any eyepiece will work.
DSLR cameras can be connected to the microscope using a camera T mount or an extension tube with electrical tape.
C-mount cameras use a special tube with threads (see microscope photo below). Camera adapters with an eyepiece can be inserted into any microscope eyepiece and cost about $150 (90 GBP).

C-mount cameras are smaller than a DSLR and usually come with software to take pictures.
The microscope shown above has a built-in illuminator, polarizers, and a slot for a full-wave retardation filter (compensator) which slides into the microscope body and adds color to birefringent specimens.
New polarizing microscopes from China cost about $5,000 (3000 GBP) without the camera.
Digicam control software permits you to change the camera settings on a DSLR, e.g., shutter speed, ISO speed, white balance, and exposure compensation using the computer.

The captured digital images are then saved to the computer and processed with other image editing software. Digicam software is free online but only supports a Windows PC and the most common DSLR cameras.
I find that viewing the image from the camera on a PC monitor helps me compose the image, and zooming in on the picture allows me to focus on the enlarged area.
Camera and software settings for photomicrography
Many microscopes have built-in illuminators with variable power to adjust the brightness. Be sure to adjust the light in the microscope so it is even across the screen (Köhler illumination) and fairly bright.
If the light source is tungsten, you can set the camera or software for tungsten lighting. Alternatively, some photographers use blue filters to make tungsten light more blue.
The third option is to shoot RAW files and then correct the white balance of the background during image editing.
Most DSLR cameras will revert to center-weighted metering when not connected to a lens. For subjects with dark backgrounds, you may need to underexpose the images by 1/3 to 2 F-stops.
Subjects with large areas of white light in the background may require an increase in exposure.
This same principle applies to all types of photography.
Coverslips
To take sharp pictures with a microscope, the thickness of the coverslip is critical. Most objectives are designed to be used with coverslips that are 0.017 mm thick, which is a No. 1.5.
The most uniform thickness cover glasses I have used are sold by Zeiss.
The thickness of the cover glass for low magnification, e.g., 100X, is not critical. If you can’t get No. 1.5 cover glasses, try No. 1, which is thinner.
Using a 20X objective and above, the thickness of the cover glass and overlying water (or mountant) is important for sharp images. Crystals usually don’t require a coverslip as they are most often photographed at low magnification.
Different compound microscopes provide different types of lighting
Microscopes are sold with different types of lighting for viewing different specimens. Almost all compound microscopes provide a basic bright light source, tungsten or LED.

Some microscopes have a condenser under the microscope stage that permits different types of lighting, like dark-field, which produces a black background.
Phase contrast objectives and phase-contrast condensers allow translucent subjects like cells and protozoa to be readily visible without staining.

There are fluorescent microscopes and microscopes with differential interference contrast (DIC) that produce 3D types of imaging. Studies have shown that some kinds of lighting can be simulated using software and may someday be available.
In conclusion
Taking photographs with a microscope is easier than ever these days, and you can uncover a whole universe of subjects around you.
You can start off with a phone camera and a basic compound or stereomicroscope. If you own a DSLR camera, you can attach it to your microscope.
Microscopes are easy to learn to use, and even older microscopes can be excellent for photography, but taking good pictures requires skill and knowledge which is more important than the equipment being used.
Understanding the basics of composition and visual elements of design can help improve your images.
Remember that vibration while taking a picture with the microscope or using the wrong thickness of coverglass can reduce image sharpness, but sometimes a “soft” image is due to dirt on an objective lens and it simply needs to be cleaned.
Most of the time, blurred images are due to the rapid movement of some microorganisms or lack of careful focusing.
A microscope can be used in any season in the comfort of your home by anyone curious about the micro-world. With a microscope, you can imagine what aliens living on other worlds might look like!


