
How to Use a Smartphone for Nature Photography

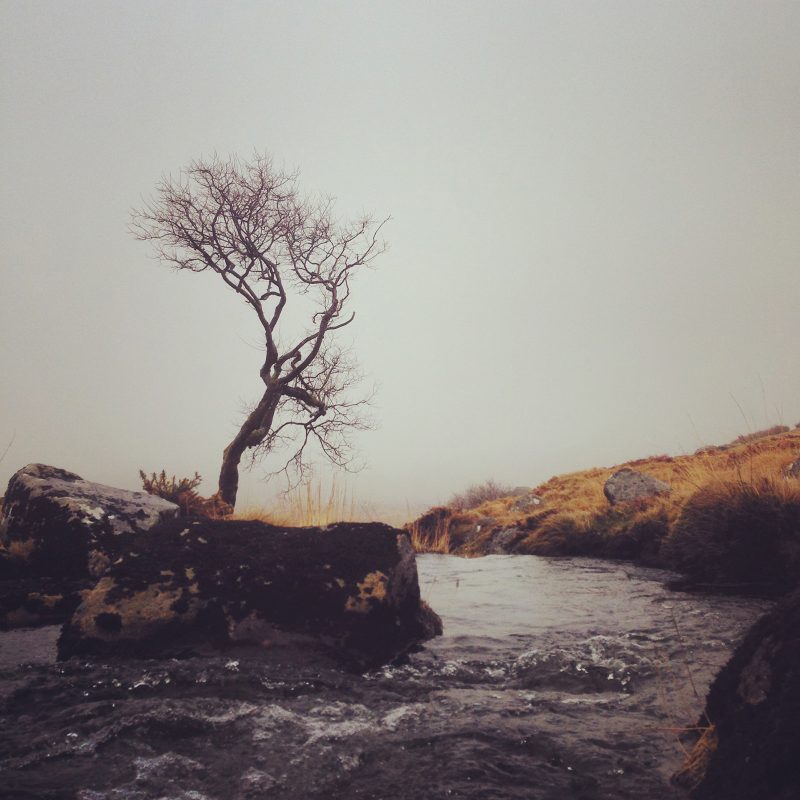
Back in 2015, I set myself a daily photo challenge of exploring my Dartmoor neighbourhood. I didn’t want it to be about lugging my expensive pro camera kit around, as I normally do each day for work. I wasn’t interested in long lenses, or even long set-up times.
I wanted this project to be more about adventure, exploration, freedom, and the pleasure of being out in the elements all year round. I was also on maternity leave with two tiny children, so they were going to be coming along for the ride too.


This year-long, photo-a-day project entitled “A Love Letter to Dartmoor in 365 Photos” was about getting out and experiencing nature every day, with just a smartphone.

I learned a lot in that year. Using a small camera made me work harder to get the photo, and taking a photo every day made me a better photographer. Practice makes perfect!
In this article, I am going to share some of my tips and tricks for using smartphones for nature photography.
1. Camera inversion
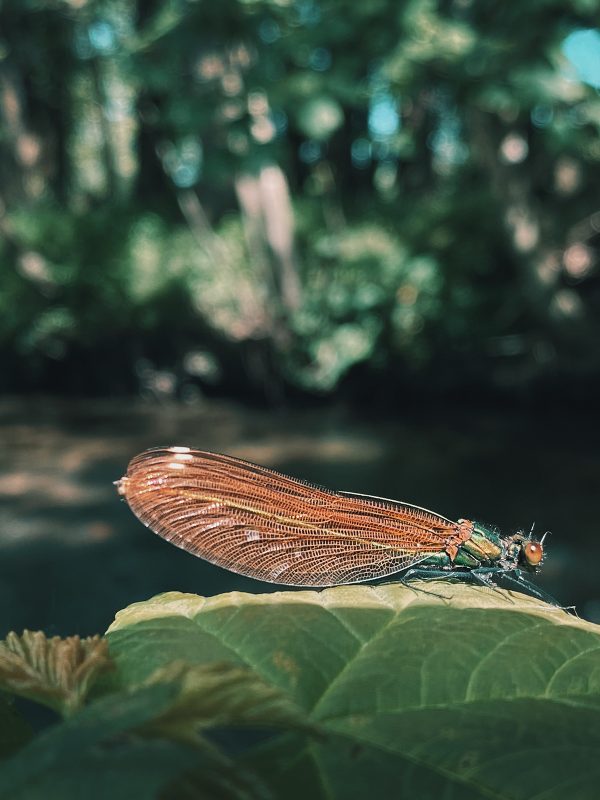
Nature and wildlife come in all shapes and sizes. Smaller flowers, insects, and animals are often missed as our eyes are drawn to the bigger, more attention-grabbing subjects around us.
Here is a simple but effective tip to give those smaller subjects more prominence: simply rotate your phone (and thereby your camera) 180 degrees, so that your lens is at the bottom of the phone, rather than at the top.

Camera inversion allows you to photograph with your lens at the eye-level of your subject, or even from below and looking up. This angle allows the subject to fill the frame and elevates its small stature into something more statuesque.
Try sitting down at ground level and getting onto your hands and knees. Or, if it’s a nice dry day, lay down flat for a bug’s eye view. You can use flora and fauna, such as blades of grass or fallen leaves, to frame your subject too.
2. Macro lenses
Using a macro lens attachment with your smartphone will allow you to achieve the shallow depth of field you might get with a DSLR. This works particularly well with flowers, where you might want to make a single flower stand out from its background.
Some newer models of phones have fairly impressive macro settings on their native lenses, so make the most of them in your nature photography.
It works well for insects too, but getting up close for that short working distance in macro mode often means you’ve accidentally scared them off before getting your shot. Be patient and persevere, as the little critters often settle nearby and you can try again.

You might find that it takes a bit of time to get used to working with these lenses, especially with a moving subject. I always advise starting with a lens of a lower magnification (such as 7x) before working up to one with a higher magnification (such as 14x or 21x).
Handholding also takes time and practice. The slightest movement of your camera or lens is magnified by the lenses. A tripod can come in handy here, especially if you have time to set up a shot of a flower, rather than trying to capture an insect likely to flee at any moment.
Read more: How to Take Handheld Photos of Insects
3. To zoom or not to zoom
Although all smartphone cameras have optical zoom functionality of one kind or another, many fail to deliver in this area. This can feel really limiting when photographing wildlife at a distance.
The obvious solution is to attach a telephoto lens, but you can work around it to some extent by using the multiple leading lines that nature offers in your foreground.
Look for watercourses, lanes and paths, tree and fence lines, or changes in the landscape itself, to use as compositional tools that lead the viewer’s eye to your distant background subject. Or if possible, make the most of being out in nature and the freedom to explore, and physically move yourself closer to your subject. Take a hike!
4. Burst mode
Your smartphone, like any other camera, has a burst mode. Use it to capture multiple images in quick succession. Through this, you can increase your chances of capturing the perfect image of a bird in full flight with its wings extended, or a bounding deer as it leaps, fully stretched, across your composition.

5. Editing your smartphone photographs
The next logical step in using your smartphone for photographs is using your smartphone to edit the images. There are various apps available that let you do just this.
My personal favourite is Snapseed, which is free to download and can be used on iOS and Android phones. Use the app to improve the composition with the crop tool, alter the light, reveal detail in the shadows, create better contrast, and so much more.

One of the things I love about Snapseed is that it allows you to undo and redo your edits using their sophisticated layers, which means you can explore the app and have fun with your edits without worrying that your editing may be ruining your images permanently.
As every edit you make is saved as layer, it means that you can go back and undo or redo each layer individually, offering vast editing possibilities.
In conclusion
One last tip: remember to tap to focus! You would be amazed by how many experienced photographers on my workshops don’t do this.
You are the creative decision maker, so don’t forget to tell your camera what it is that caught your eye and captured your imagination, before you press the shutter to capture it.


