
Exposure Compensation: The Complete Beginner’s Guide

In the journey to becoming a proficient photographer, one of the keys to unlocking creative control and precision in your craft is mastering the use of exposure compensation. This tool will allow you to fine-tune your images and mean that you take fewer images that are either too dark or too bright.
In this comprehensive guide, we’ll delve deeper into what exposure compensation is, its relationship with different camera modes such as aperture priority and shutter priority, and how its effective use can dramatically enhance the quality and creativity of your photos.


The Foundation – Understanding Exposure
To comprehend exposure compensation, we first need to understand what exposure is. Simply put, exposure refers to the amount of light that enters your camera and is read by the sensor, directly influencing the brightness or darkness of your images.
The exposure of an image is dictated by three primary factors, collectively known as the Exposure Triangle:
- Aperture (the size of the opening in the lens);
- Shutter speed (how long the sensor is exposed to light);
- ISO (the sensitivity of the sensor to light).
These three parameters work together, and changing one will necessitate adjustments to at least one of the others to maintain a balanced exposure.

A balanced exposure is an image that seems “correct” in its lighting. This is sometimes reflected in the histogram display, although this will vary between styles of photography so is not an absolute measure of what is a balanced exposure. However, it can help you to see under or overexposed areas.
Fine-tuning with Exposure Compensation
Despite the camera’s sophisticated algorithms for calculating the optimal exposure based on the scene’s light, there are times when the automatic exposure setting falls short, producing images that are too bright (overexposed) or too dark (underexposed). This is where exposure compensation steps in.
Exposure compensation is a feature that allows you to override the camera’s metering decision, lightening or darkening your image before you capture it.

Measuring in Stops of Light
This control is measured in “stops” of light, typically ranging from -3 to +3 stops in 1/3 increments on most cameras.
A “stop” is a widely used term in photography that refers to a doubling or halving of the amount of light in a photograph. It’s a measure of exposure, and it represents a relative change rather than an absolute value.
Understanding the concept of stops is vital for controlling exposure, as it directly relates to the three pillars of photography: aperture, shutter speed, and ISO, all of which are measured in stops.
- Aperture: Each stop of aperture either doubles or halves the size of the opening in the lens, which in turn doubles or halves the amount of light reaching the camera sensor. For example, moving from an aperture of f/4 to f/2.8 doubles the amount of light, a change of one stop. Conversely, moving from f/4 to f/5.6 halves the light, which is again a change of one stop.
- Shutter Speed: Each stop of shutter speed either doubles or halves the duration that the camera shutter is open, and hence, doubles or halves the amount of light reaching the sensor. If you change your shutter speed from 1/250th of a second to 1/500th of a second, you halve the amount of light hitting the sensor, decreasing the exposure by one stop. On the other hand, moving from 1/250th to 1/125th of a second doubles the light, increasing the exposure by one stop.
- ISO: Each stop of ISO either doubles or halves the camera sensor’s sensitivity to light. If you move from ISO 100 to ISO 200, you double the sensor’s sensitivity, effectively doubling the brightness of the image, hence increasing the exposure by one stop. Conversely, moving from ISO 400 to ISO 200 halves the sensor’s sensitivity, decreasing the exposure by one stop.
Therefore, understanding the concept of a stop allows you to control the amount of light in your photos accurately. If a photo is overexposed by one stop, it’s twice as bright as it should be. If it’s underexposed by one stop, it’s half as bright as it should be. This understanding allows you to make precise adjustments to the exposure through exposure compensation, and will help you to select the correct value for the scene.

Exposure Compensation in Different Modes
To harness the full power of exposure compensation, it is essential to understand how it interacts with different camera modes, particularly Aperture Priority and Shutter Priority.
In Aperture Priority mode (often denoted as ‘A’ or ‘Av’ on your camera), you manually select the aperture, and the camera automatically determines the appropriate shutter speed to achieve a balanced exposure.
However, in some lighting conditions, or if you have a specific creative vision in mind, the camera’s automatic settings may not give you the desired results. This is when you would use exposure compensation.

If your image appears overexposed, you can adjust the exposure compensation to a negative value, which instructs the camera to select a faster shutter speed, thereby reducing the amount of time the sensor is exposed to light.
Conversely, if your image appears underexposed, adjusting the exposure compensation to a positive value will signal the camera to select a slower shutter speed, brightening the image.
Similarly, in Shutter Priority mode (represented as ‘S’ or ‘Tv’), you choose the shutter speed while the camera sets the aperture. Exposure compensation in this mode adjusts the aperture.
A negative value increases the aperture number (which equates to a smaller aperture), allowing less light in, while a positive value decreases the aperture number (or opens up the aperture), allowing more light in.
The Impact of Exposure Compensation on Your Photos
Having established what exposure compensation is and how it operates with aperture and shutter priority modes, we will now explore how this invaluable tool can improve your photos.
High-Contrast Scenes: When photographing scenes with high contrast (like a bright sky against a dark landscape), your camera may struggle to balance the exposure correctly. Using exposure compensation, you can decide which elements you want to be correctly exposed – dial it down to preserve details in the sky or up to reveal details in the darker landscape.
Read more: How to Master Dynamic Range in Landscape Photography
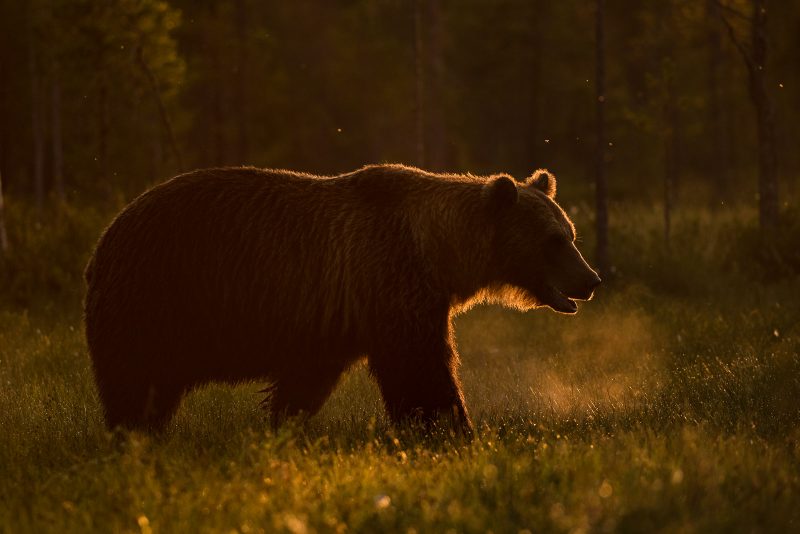
Backlit Subjects: Backlit subjects can often appear as silhouettes as the camera underexposes them to compensate for the bright background. By increasing exposure compensation, you can maintain the luminosity of the background while adequately lighting your subject.
Read more: Backlighting in Wildlife Photography – Creative Use of Light

Creative Control: Exposure compensation isn’t just a corrective tool; it’s also a powerful instrument for creativity. Want a moody, atmospheric image? Lower the exposure compensation for darker tones. Seeking a high-key, ethereal feel? Increase the exposure compensation for something more high-key.
Read more: High-key Wildlife – How to Create a White Background
Snow or Beach Scenes: Scenes dominated by white, such as snowy landscapes or beach scenes, can trick your camera’s metering system into underexposing the shot, resulting in grays instead of whites. By raising exposure compensation, you ensure the scene retains its bright, vibrant quality.
Read more: 5 Tips for Photographing Wildlife in the Snow

Exposure Compensation and Advanced Techniques
To advance your use of exposure compensation, consider experimenting with the different metering modes your camera offers. Different metering modes (like spot, center-weighted, or evaluative/matrix) change how your camera reads the light in a scene, which can dramatically affect the initial readouts from the camera.
Also, note that exposure compensation does not work in Manual mode (with the exception of manual mode used in conjunction with auto ISO), as you directly control both the aperture and shutter speed in this mode.
Instead, the camera’s light meter provides an exposure ‘recommendation,’ which you can follow or ignore based on your desired result.
In Conclusion
Exposure compensation, while initially seeming complex, is a rewarding tool to master. It hands the control back to the photographer, allowing for precise adjustments and greater creativity in your imagery.
With understanding and practice, exposure compensation will become an instinctive part of your photography process. As you embark on your journey of exploration with exposure compensation in different modes like aperture priority and shutter priority, remember that photography is about expression and storytelling, and tools like exposure compensation are there to help you better articulate your vision.
So pick up your camera, start experimenting, and watch as your photographs transform.


