
8 Common Macro Photography Mistakes You Should Avoid
Thanks to a macro lens, or dedicated close-up attachment, nature photographers can capture frame-filling shots of extraordinary miniature things. In close-up, the exquisite design and beauty of flowers, fungi, invertebrates, and other tiny subjects can be revealed. This is a fascinating world to explore, but high magnification photography – of up to 1:1 life-size or greater – presents a number of key challenges. It is a fiddly and technically demanding genre, but one that will provide rich rewards once you’ve mastered the basics.
There are a number of common mistakes in macro photography that newcomers will make – and, let’s be clear here, I’ve also made them all myself over the years! The problems are normally easy to fix once identified, though – all you need is a little help and guidance.


In this article, I will help prevent you making those very same costly errors by highlighting common mistakes close-up photographers make, and showing you how to overcome them before they ruin your shots too…
1. Using the wrong kit
You won’t capture great close-ups without the right kit. While some telephotos and zoom lenses boast a close focusing distance and provide a useful level of magnification for larger insects and flowers, if you really want to capture miniature detail you will need kit designed for the job.
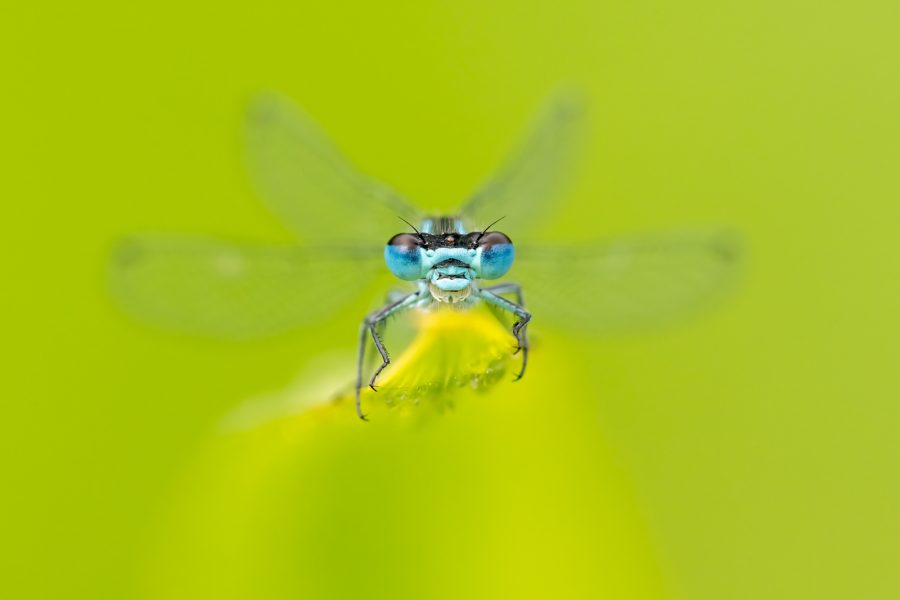
A macro lens, dedicated to close focusing, is the obvious choice. All macros provide a reproduction ratio of 1:1 (life-size) – and a few, like the Canon MP-E 65mm and Laowa 100mm Ultra Macro, even go beyond this. However, while they all do the same thing, shorter focal lengths require you to get closer to your subject. This is not a major issue if you only intend to shoot inanimate objects. But, if you want to shoot insects, reptiles and amphibians, then the longer the better.

Too many macro photographers get frustrated by having a macro lens that requires them to get within a few centimetres of their subject. All too often, their subject has flown or scurried away before they’ve taken a decent shot. Instead, I would recommend a macro with a focal length of 100mm upwards. This will provide a larger, more practical working distance from your subject and maximise your chances of success.
Tele-macros also have a narrower field-of-view, so they capture less background clutter. That said, shorter macros are great for environmental shots and are lighter and cheaper, so don’t dismiss them entirely. Close-up filters and extension tubes are cheaper alternatives, but again require you to get close to subjects, which is not always practical or possible.
Having the right tools for the job will save a lot of frustration and help ensure you don’t ever miss the shot.
Read more: What’s the Best Macro Photography Lens?
2. Having a messy background
Quite simply, a messy background will dilute the impact of your close-ups. If there is distracting vegetation or ugly highlights behind your subject, or the background competes with your subject for attention, your shot is likely to be ruined.
You need to let your eye explore the image-space thoroughly before triggering the shutter. Sometimes a slight change in shooting angle, or a shallower depth of field, can fix the issue. In certain situations, you may be able to tidy-up the background by removing dead vegetation, or gently flattening distracting grasses by hand – a technique known as ‘gardening’. However, do be careful not to damage flowers or habitat when doing this.
A clean background will often create more aesthetically pleasing close-ups.

Beginners may not be aware that, when you look through the viewfinder of a SLR camera, you are ‘seeing’ the image at the lens’ fastest maximum aperture – not necessarily the f-stop you’ve selected. Therefore, the images you capture can look very different to what you see through the viewfinder.
Mirrorless cameras have the advantage here, as many provide ‘live’ depth of field. This allows you to preview the zone of sharpness before you take the photo, and adjust settings if required. LiveView also does this, but on some models of camera you may need to depress the depth of field preview button to see how far depth of field extends.


3. Relying on autofocus
Autofocus systems are sophisticated today, often achieving sharp focus more quickly and accurately than you can judge by eye with manually focusing, particularly when shooting handheld. But don’t rely on autofocus when shooting close-ups.
Autofocus should be reliable when photographing larger subjects, like dragonflies, and when working in good light. However, at higher magnifications, or when there is minimal contrast, AF can struggle, hunt, or lock-on to the wrong point. Switching to manual focus will provide far more control.

Ideally, for close-up subjects, your camera will be fixed to a tripod. Not only does this provide stability, but it will aid focusing as it allows you to enlarge your point of focus (using the ‘Zoom’ or ‘Magnify’ tool, or by pinching a touchscreen) for pinpoint precision.
Rotate the focus ring slowly and smoothly until the subject reaches its sharpest point. Some cameras also have focus peaking, which is where the camera projects a coloured outline around in focus areas. This can be useful for determining the extent of sharpness.

4. Not working quickly enough
One of the costliest mistakes close-up newbies make in macro photography is being too slow. When shooting insects, reptiles and other small creatures, you must be prepared to react and work quickly.
Don’t rush or panic – that will only lead to you making errors. However, it is important to work efficiently and be able to adjust key camera settings – like aperture and ISO – without having to take the camera away from your eye, particularly when stalking timid subjects and working handheld.
Unless you are shooting early or late in the day (when subjects are roosting and inactive), photo opportunities may be fleeting with subjects only resting, feeding or basking for a few brief moments before moving again. Therefore, there is no time to waste.
Observe your subjects closely; you may notice a pattern to their movement. For example, some dragonflies are territorial and will return to the same resting place again and again.
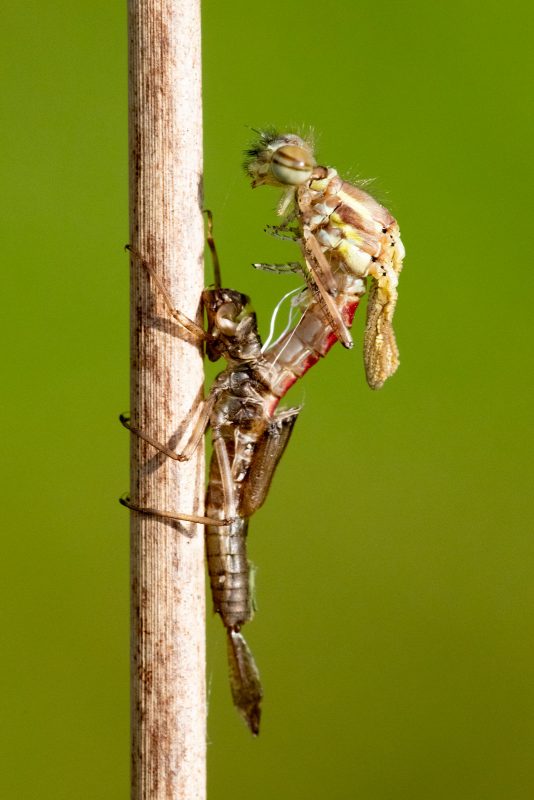
Read more: How to Photograph Damselflies and Dragonflies

Previsualise the shot you want to take and adjust your camera settings in advance so that you are set-up and ready. By doing so, you will work as fast and efficiently as possible when opportunities present themselves.
While it is tempting to creep up really slowly, insects in particular won’t remain in one spot long and so if your approach is too laboured, your subject will be gone before you’ve got anywhere near it. It is worthwhile taking an “insurance” shot, from slightly further away, before getting closer – that way you at least have something.
Keep movements smooth and deliberate and, most importantly, avoid rapid actions close by. You may only get time for one or two frames, so make each shot count.
5. Insufficient shutter speed
An all too common issue with close-ups is a lack of critical sharpness. While this can be a focusing issue, it can also be due to an insufficient shutter speed being set. Even the tiniest of movement – camera or subject – appears vastly exaggerated at higher magnifications.
Ignore the old adage that you only need to employ a shutter speed equivalent to the focal length you are using – that advice goes out the window when shooting macro. The faster the better, ideally.
The emphasis is on fine detail when photographing miniature things – if the key areas aren’t bitingly sharp, the image will be ruined. Even using a tripod doesn’t entirely guarantee sharp results when shooting close-ups as wind movement, mirror slap (when using a SLR), and vibrations created by physically touching the camera can noticeably soften image quality if the shutter speed isn’t fast enough.

Generating a fast shutter speed is even more vital when working handheld. Using a large aperture is one way to produce a faster shutter, but doing so will limit depth of field. Instead, I would always advise you to first select the aperture you need to achieve the level of depth of field you desire, and then incrementally increase ISO sensitivity until you generate a fast-enough shutter to achieve pin sharp results.
Yes, higher ISOs will produce more digital noise, but the high ISO performance of modern cameras is excellent today and noise reduction software (like Topaz Labs DeNoise AI) can be used if needed. My attitude is that it is better to have a noisier file that is sharp, than a shot which is noise free, but soft. I’m sure you’ll agree.
6. Camera not parallel to subject
So many close-ups are ruined due to not enough of the subject being recorded sharply – it is a common issue in macro photography.
The depth of field can be measured in millimetres when shooting at higher magnifications, so there is absolutely no margin for error with focusing. But in order to maximise the depth of field available to you – at any given f/stop – you need to think carefully about your camera’s position.
You will often want to place as much of your subject within the camera’s plane of focus as possible. To do so, it is vital you position your camera parallel, and therefore equidistant, to the subject.

For example, when shooting a butterfly basking in the sun, carefully angle your camera so that it mimics the angle of the insect’s open wings. This technique doesn’t actually extend depth of field, it simply allows you to make the most of what you have. Many subjects have one relatively flat side, so this approach is useful for a wide range of subjects, helping you to achieve sharper results with less of the subject drifting frustratingly out of focus.
Obviously, there will be plenty of situations where you wish to throw parts of your subject creatively out of focus, in which case mismatch the plane of focus with your subject to place added emphasis on your point of focus.
7. Getting too close
At first glance, this tip might appear a little counterintuitive, but it is a common and understandable misconception that close-up photographers should always fill the frame with their subject. While frame-filling shots undoubtedly can have loads of impact – and highlight detail and colour – they rarely convey a sense of scale, context, or tell a story.
It is a mistake to always fill the image-space.

Including a degree of negative space, or a recognisable slice of the subject’s environment, can prove powerful and convey a proper feeling of size or vulnerability. It is easy enough to capture images with more context – simply attach a shorter focal length or shoot from further away. And you always have the option to crop the image if you later decide that the negative space doesn’t work – whereas if you go too close, there is no alternative but to stick with it.
8. Shooting in harsh, midday light conditions
Shooting when the sun is high overhead will often result in dark, ugly shadows and bright hotspots. A high level of contrast is rarely a desirable thing when shooting miniature detail, and I see many otherwise good close-up images ruined due to the light’s quality.
Ideally, shoot in the morning and evening when the sun is lower in the sky and light is soft and diffused. This is not always possible or practical, though. Thankfully, close-up photographers typically possess a huge amount of control over how their subject is lit.

When shooting small, nearby subjects, it is relatively easy to alter, influence, and enhance lighting. In bright midday light, use a small diffuser – or even cast your shadow over the subject – to produce a more even, diffused light. Or use flash, a reflector, or small LED light to relieve ugly midday contrast.
Using lighting aids is obviously less practical with subjects that may move. However, when photographing flowers, texture, or hatching or mating invertebrates (which are less likely to move), don’t allow harsh sunlight to ruin your close-ups.
In conclusion
By outlining a handful of the most common mistakes macro photographers make, hopefully you can sidestep these pitfalls and capture great close-up shots instantly! Good luck…


