
How to Use a Camera Monopod

During your adventures in nature photography, you may find yourself needing something to help you stabilise your camera. Whilst tripods are the most popular option, using a camera monopod can create a whole new world of photography opportunities.
But what exactly is a monopod used for, and how do you go about using one?
What is a monopod
A camera monopod is quite simply a one-legged tripod – a stabilising and supportive single-leg pole that you can mount your camera and/or lens to.
Much like a tripod, monopods provide support to your camera or lens and can be used in several different ways.
Whether you want to stabilise your camera for a shot in a crowded space, you need support for your telephoto lens, you want to pan a photo of a moving subject, or even capture a scene from a higher perspective, monopods are a handy addition to any camera bag.
Read more: 10 Important Things to Keep in Your Camera Bag
When to use a monopod
Monopods are a handy piece of kit to use when it is not practical to use a tripod but you still need some kind of stabilisation for your camera and/or lens.
It also offers extra support when using a telephoto lens, shouldering some of the weight of these large lenses and giving your arms and body a rest between shots. This is particularly handy for wildlife photographers.

Monopods are unobtrusive and handy to use in crowded or tight places, giving greater freedom of movement. They can be a great addition to help you capture stunning shots in almost any space.
They should also be considered for use when dropping shutter speed to as low as 1sec without risking camera shake.
How to use a monopod
Whilst the use of a tripod is fairly self-explanatory, there are a number of ways we can use monopods to capture stand-out images, be it of landscapes, bird portraits, or intentional camera motion shots.
Monopods may not offer the same degree of stabilisation as tripods, however, they offer more versatility and flexibility in movement and use, and are faster to set up. Here are some creative ways to use your monopod.
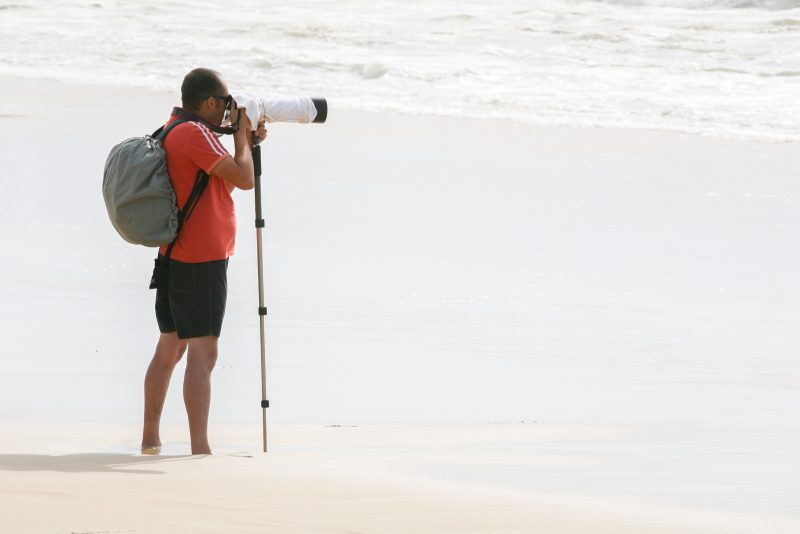
1. Out in front
This may be the most obvious way to use a monopod and is a favourite of photographers with very large lenses.
Simply attach your camera to the monopod, extend its leg so that the viewfinder of your camera is level with your eye, then place the monopod in front of you. The monopod will form a triangle with your legs, effectively mimicking the stance of a tripod.
Don’t forget to play around with the height of the monopod. It may be more comfortable for you to have a longer monopod and lean it back towards your body. This works best with a surface that is naturally grippy.
If you’re in the same position for a while, it may be more comfortable for you to widen your stance, and adjust the monopod height accordingly.

Variations of this stance can be used too. Placing your hips at a slight angle to your shoulders, you can brace the foot of the monopod against the inside of your rear foot, angling the pole towards your leading leg and allowing it to rest on your inner thigh. This prevents the monopod from slipping.
Alternatively, to gain a bit more stability, keep your legs at a slight angle to your shoulders, and place the foot of the monopod between your legs but slightly behind the leading leg. Push down on the monopod so it grips the ground more firmly.
2. Overhead
If you are looking to gain more height in your shot, firmly attach your camera to your monopod, extend its legs and lock them in place. Then simply hold your monopod high enough to create the height you want.
Before placing your camera over your head, check and double-check that your monopod head is firmly gripping your camera – the last thing you want is for the grip to loosen whilst your camera is at such a height!
You will need a remote trigger for these shots. These can either be wireless triggers linked to your smartphone or via a wired remote trigger.
Read more: How to Use Perspective in Nature and Wildlife Photography
3. Panning with a monopod
Most commonly used with the monopod directly in front of you, capture creative shots by panning your camera.

To pan a shot of a subject in motion using your monopod, simply twist the monopod with one hand at a speed that matches the speed of your subject. Then, with your subject in focus in your frame, click the shutter with your other hand.
Read more: Panning Technique – Conveying Motion in a Photo
In conclusion
Monopods may not offer the same degree of stability as tripods, however, their ease of use and versatility make them a helpful addition to any photographer’s camera bag.
Give one a go and let us know how you get on in the comments below!


