
9 Creative Ways to Drastically Improve Your Wildlife Photos
Sometimes described as “fine art wildlife photography,” these images are full of creativity. They have some select qualities that help to make them successful, adding an element of artistry to the shot. One of those is the emotion that the image conveys; it doesn’t really matter which emotion, but you want your photo to be engaging. You want your viewers to have an immediate connection, good or bad, to your subject. When creating fine art I am not looking to simply document my subject, but rather to interpret what I am seeing and to photograph it in a way that is compelling and creative.
Some artists will provide an “artist’s statement” on their website to give their viewers a window into the way that they feel or think about their own art. Others will have a “theme” or “mood” to their fine art portfolio that will connect each print. I have not found a flow or rhythm for my fine art prints and I don’t convey the same message as a sort of calling card as to the type of photography I produce. I simply let the art lead my hand and control my vision. The way I see a scene, or the way I chose to interpret that scene, opens up many avenues of creativity and I like to explore them all.


The things I look for when creating fine art wildlife photographs vary and I don’t try to include them all at once in a single photo. I also try to stay true to my subject and portray them in a fitting way. Here are some things to consider next time you’re out in the field if you want to make your images more creative and artistic.
1. Dramatic Lighting
When capturing wildlife, sometimes I use backlight or rim lighting for a different look. I also use side lighting to illuminate one side of my subject’s face for a nice portrait. Silhouettes are another consideration. Dramatic lighting can also include moonlight, sunrise, sunset, cloudy and/or moody skies.
Further Reading: Choosing the Best Lighting for Wildlife Photos

2. Minimalistic
To create a minimalistic look, I usually like to work in snow or water. Soft grasses or similar backgrounds can also work. The idea is to have a very minimal amount of interest in the scene to direct the viewer’s eye; in other words lots of negative space to create a serene image.
Further Reading: The Art of Minimalist Wildlife Photography

3. Black & White or Monochromatic
A lot of photographers use black and white, or monochrome (monochrome is an image with a single hue), for their fine art prints. It can be an effective way to clear a cluttered scene or busy background. It helps the viewer get to the core of the photo easily. Black and white or monochrome photography, or conversions, can also help to create a “timeless” look.
Further Reading: Monochrome – Simply Dramatic or Dramatically Simple?

4. High-key
I like high-key photography and think that it makes for beautiful fine art wildlife photography – especially if you choose your subjects well. This is where you “blow” the highlights in an image, allowing the subject to bleed into the background.
I usually think of Zebras as good high-key subjects. Solid white birds like egrets come to mind, and so do polar bears. Almost anything lighter in tone, or mostly white, will be a good subject.
Further Reading: High-key Wildlife – How to Create a White Background

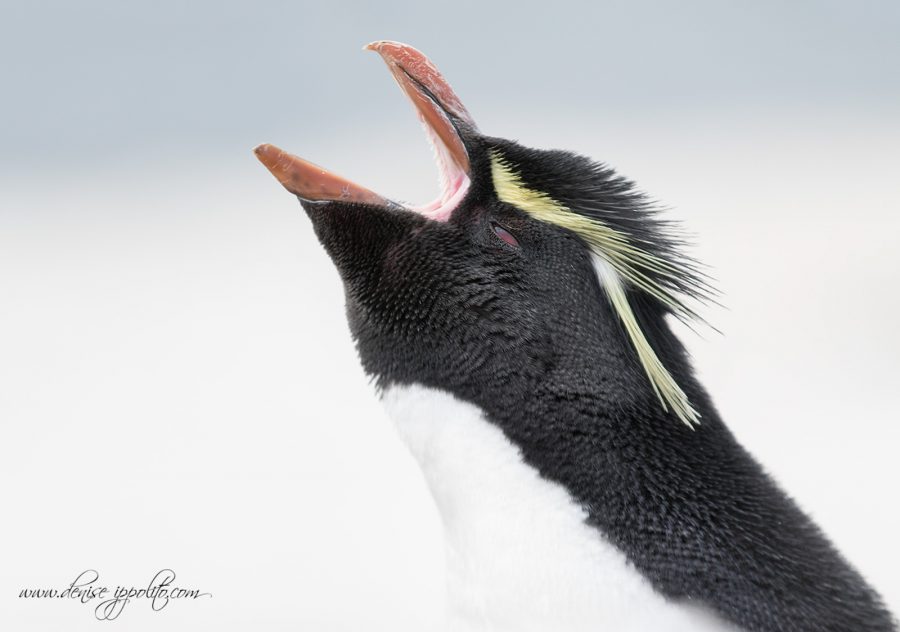
5. Compelling Eyes
I’m sure you have heard that phrase “the eyes have it,” and, well, they do. The eyes of an animal can be one of the best ways to get a viewer’s attention. After all, the eyes are generally the very first thing we look at when we are looking at wildlife images.
Look for sad or big eyes that have a lot of life. Zoom in on them and don’t be afraid to try an interesting composition with one or both of the eyes.
Further Reading: 12 Ways to Evoke Emotion in Your Wildlife Photos

6. Patterns
Pattern shots are not quite as easy as they look. Usually, the photographer spends a lot of time trying to get just the right arrangement of a pattern before pressing the shutter.
You can work with framing groups of animals and lining up one odd animal in a rule of thirds position. Or, you could simply choose a subject that has a pattern like a giraffe or leopard. Or you can zoom in tight for a full frame shot of feather patterns.

7. Weather or Water Elements
Fog and mist are the first things that come to mind for how to introduce weather in your shots, but rain and snow also work well to help create a mood. I try to find a subject that looks like it either loves, or hates, the rain and work on expressions. It is best to use a longer lens in the rain that has a sizable hood so that you don’t get your lens wet. I also use a plastic shower cap if I need a wide-angle lens so that I can take it on and off quickly.
Water can also help to create wonderful splashes, especially when your wildlife gets wet and shakes off. The flying water droplets can look fantastic when backlit, so think of combining the two.
Further Reading: How to Get Rain & Snow Streaks

8. Abstracts
Abstracts can make powerful fine art photos. Usually when the viewer has to spend time looking at the photo to figure out what it is, it means you have engaged them, and that is what a photo is supposed to do. The reaction does not always have to be positive, although we would all like that of course! Look for lines, form and color for your abstracts, or even strong contrasts when creating black and white abstracts.
Further Reading: Creative Visions – How to Photograph Abstracts in Nature

9. Slow motion
Try slowing down your shutter speeds to create a more “arty” look. For large wildlife like bears, I usually use about 1/25th second, depending on how close I am to my subject. I also like to use very slow shutter speeds for some of my bird panning shots, creating motion blur. I will even go down to 1/8th second for some for those.
A good tip is to put your camera in TV / S mode (shutter priority). Dial in your exposure compensation, and set your ISO to automatic, and then you can choose your desired shutter speed. If you find that your shutter speed is too slow when you start shooting, you only need to change your shutter speed setting, as everything else the camera will balance the exposure for you. It’s a great way to get your feet wet in slow motion photography; experimentation is the key to success here.
Further Reading: Panning Technique – Conveying Motion in a Photo


