
10 Top Tips to Improve Your Landscape Photos

Perfection doesn’t exist in photography – there is always room for improvement. Whether you are Joe Cornish, or Joe Blogs, the aim is exactly the same – to take better photos. It is an exciting and never-ending journey of creativity and development. Regardless of your experience, you should constantly be striving to hone your skills, enhance your technique and define your style. While there are no miraculous shortcuts to becoming a great photographer, I’ve assembled a number of top tips that just might help improve your photos and accelerate your journey.
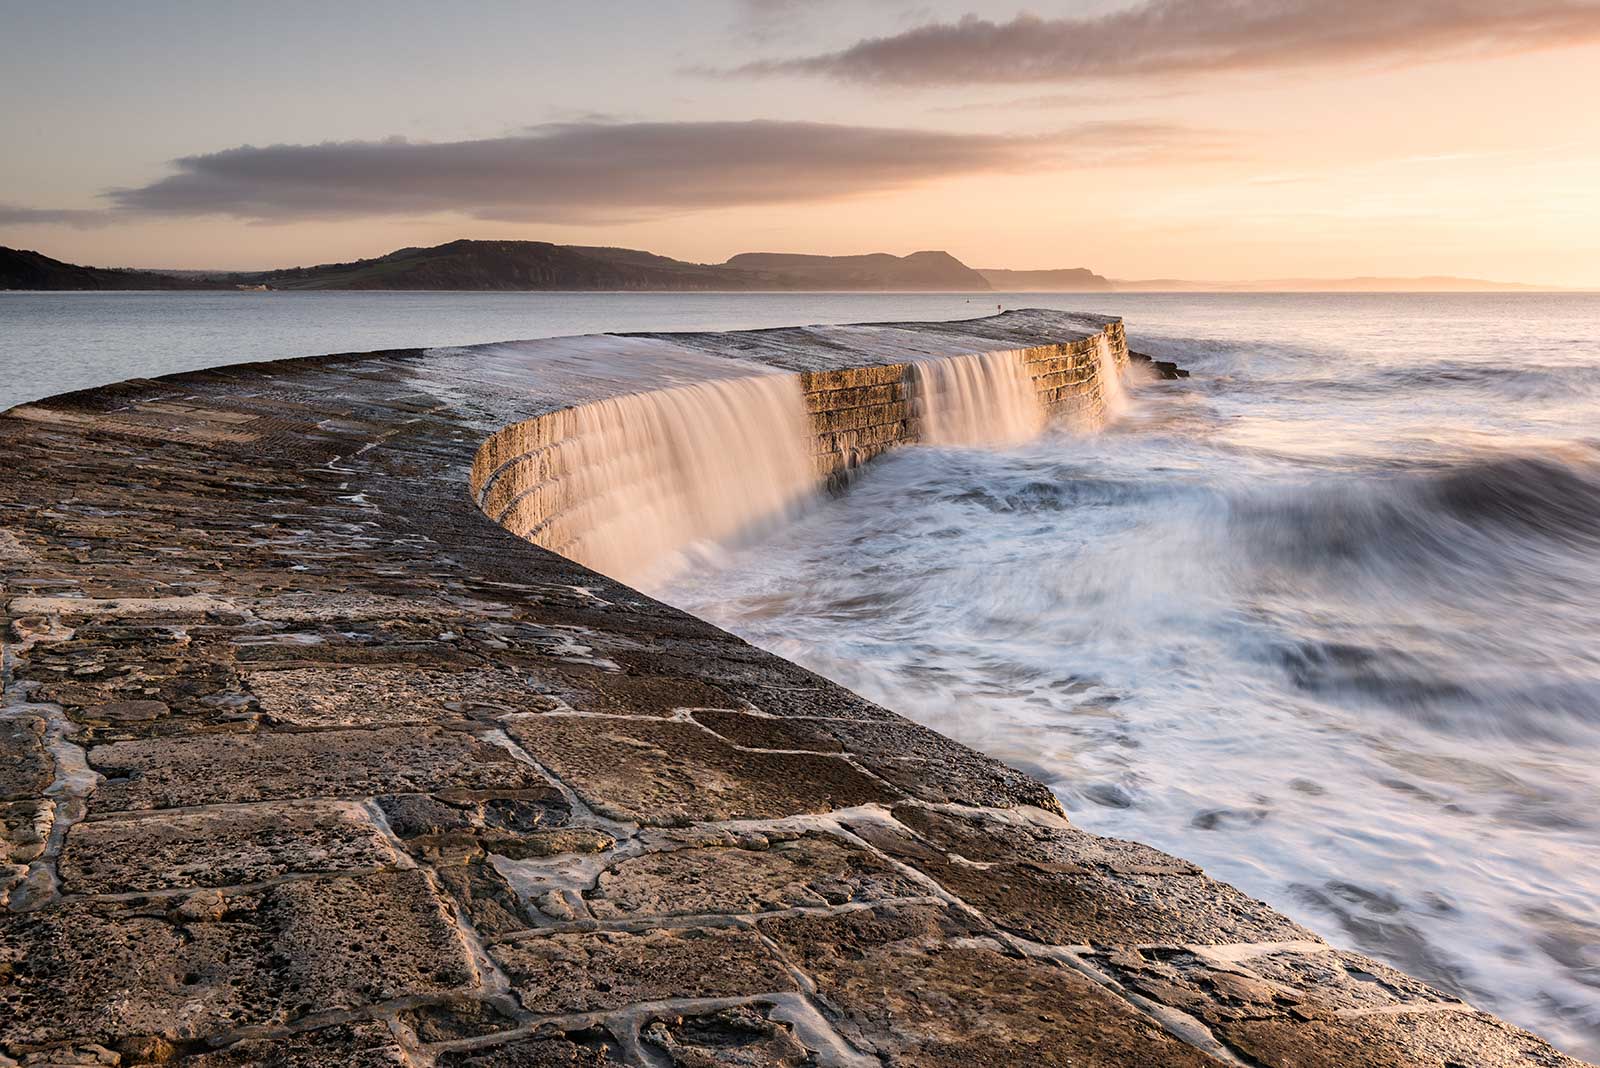
#1 Get up early and stay out late
Some of my advice might be obvious, but there is no harm in being gently reminded from time-to-time. Light is a key ingredient to any photo. Light shapes the landscape and adds mood, drama and beauty. Quite simply, there is no substitute for great light – you can’t replicate magical conditions in post processing, however good your Photoshop skills are. Light needs to be captured in-camera, so you need to put yourself in the right place at the right time. I regularly critique images on workshops and for photo magazines, and am staggered at the amount of beautifully composed images I see that are let down by poor lighting. You have to be prepared to put the legwork in.


Early morning and late evening light – the ‘golden hours’ – frequently offer the best opportunities. The sun is low in the sky and the quality of light soft and warm. The window of opportunity is short, though, so get yourself on location at least 30-minutes beforehand. Yes, this can involve shooting at unsociable hours, but – as they say – no pain, no gain. You have to be committed if you want to take great landscape images.
Further Reading: “Making the Most of the Golden Hour“

#2 Be original
Be inspired by the work of other photographers, but avoid replication. It is so easy today – in a world dominated by imagery on social media – to look enviously at other photographers’ photos and then simply visit the same spots and do the same thing. While there is nothing wrong with visiting popular, well-photographed locations, always attempt to do your own thing. Avoid the obvious when possible. Before reaching for your camera, explore your location and look for less conventional angles. While it is becoming increasingly hard to achieve genuine originality, you should never stop trying.
Further Reading: “Top 10 Locations for Landscape Photography in the UK“

#3 Expose to the right
It should go without saying that you want to capture the largest, highest quality file in order to process and print. There is a technique called exposing to the right (ETTR) that will help you achieve this. This is a raw only technique; so if you are a jpeg shooter, skip to the next tip.
To put it simply, digital cameras capture more tonal levels, detail and less noise in the brighter stops of their sensor. Therefore, if you push the histogram so that it is as close as possible to the right side of the graph you will generate larger, cleaner files. Care is needed when doing this, though. It is important to avoid clipping highlights – something you will do if you push the histogram too far to the right. Therefore, activate your camera’s highlight warning – highlights will blink if they are blown.
Further Reading: “Understanding Histograms and How to Use Them“
In order to ETTR, apply positive exposure compensation incrementally (or just expose for longer if shooting in Manual mode) until the brightest tones are nuzzled up to the far right edge of the graph. The amount of exposure compensation required will vary depending on the brightness of the scene. On the back of your camera, ETTR images will often look too light and lack contrast. Don’t let this put you off, though. Once the files are downloaded into your raw converter, quickly adjust exposure, brightness and contrast to achieve a result that looks correct. Raw files can be several megabytes larger as a result of ETTR.


#4 Invest in tuition
One of the best and most efficient ways to expand your knowledge is to spend time with skilled and experienced professional photographers. Although photography workshops, or bespoke 1-2-1 tuition, can be costly, the ability to tap into this wealth of knowledge is an opportunity too good to be missed. Book with an established name – ideally, their style and philosophy should be sympathetic to your own. You will not only learn from your tutor’s vision and expertise, but be inspired by others among the group also. Professional tuition can prove a good investment and greatly aid and accelerate your long-term development.
Download Our eBook: “A Practical Guide to Landscape Photography“

#5 Learn the rules of composition
Composition is one of the hardest things to master – it is subjective, and there is no definitive right or wrong. However, being familiar with the rules of composition will greatly aid your decision-making.
The rule of thirds is the best-known, and arguably most useful, guideline. To apply the rule, imagine the image-space divided into a grid of nine equal parts by two horizontal and two vertical lines. Where the lines intersect are particularly powerful points. By placing key focal points of interest on (or close to) an intersecting third, you will often capture more aesthetically pleasing results. For example, it is often best to place the horizon on a third, rather than centrally in the frame. This is a tried and tested formula that will instantly improve your shots.
Other ways to inject energy into your landscapes and convey depth is to include a lead-in line, or appropriate foreground interest. Using frames – natural or manmade – can also prove a good compositional trick. Rock formations, archways, trees and leaves are among the things that can be used to frame your principal subject and imply three-dimensions.
Although some consider the rules clichéd, you would be foolish to disregard them. If you were unfamiliar with the rules, how would you know just how and when to break them?
Further Reading: “The Importance of Composition” and “Composition: Leading Lines & Vanishing Points“
#6 But don’t obsess about them
While it is important to be familiar with the compositional rules, don’t obsess about them. If you follow them slavishly, you will end up producing competent, but unimaginative and predictable work. The real trick to mastering composition is learning when to apply the rules and when to break them – an ability you intuitively gain with experience. Compositions should look balanced and harmonious – don’t worry if you have to disobey the rules to achieve this. For example, a centred subject or horizon can look striking and imply symmetry. Minimalist compositions, when the frame is uncluttered and dominated by negative space can also prove effective. Don’t break the rules just for the sake of it, but never be afraid to experiment!

#7 Visit somewhere new
It is easy to get bored or grow tired of local scenes – vistas you’ve maybe shot countless times before. Overfamiliarity with locations and viewpoints can lead to complacency and unintentional repetition. Motivation can start to wane and, before you know it, you begin staying at home with your feet-up in-front of the TV instead of going out with your camera! Not good.
If you ever feel a bit stale and uninspired, take yourself off to somewhere completely new. Plan a road-trip or just travel a bit further in order to shoot somewhere you have never, or rarely, shot before. In my experience, doing so really gets the creative juices flowing again. Today, it is so easy to research new places to shoot, as there are some great online guides. Visiting fresh locations presents new challenges and opportunities, and this is very healthy for creativity. Try it yourself. Your extra efforts will be rewarded – trust me! To help get you started, take a look at my Top 10 Locations for Landscape Photography in the UK.

#8 Maximise image sharpness
Simply using a tripod doesn’t guarantee consistently sharp results. There are other factors besides camera shake that can degrade image quality. Mirror-slap is one such thing. What is it? It is the internal vibrations caused by the reflex mirror abruptly swinging up and out of the light’s path when you trigger the shutter. To prevent this motion softening image quality, enable your camera’s Mirror Lock-up function. When you use this facility, two presses are required to take a photo – the first will lock-up the mirror; the second will take the actual photo. Alternatively, shoot in LiveView mode – the reflex mirror is already in the locked-up position when using LiveView. If you are using a mirrorless camera, you needn’t worry at all.
Physically depressing the shutter can also affect image sharpness. Therefore, it is worthwhile triggering the shutter remotely using a cord or infrared device. If you don’t own one, use your camera’s self-timer mode instead.
Also, avoid using your lens’ smallest apertures for risk of diffraction. Diffraction is an optical effect that softens image quality. Diffraction is more controlled at mid range f-stops, in the region of f/11.

#9 Focus in the right place
I meet too many photographers who still let their camera automatically decide where to focus within the scene. This is a big mistake. Depth of field (the zone of acceptable focus) falls approximately one-third in front of the point of focus and two-thirds beyond it. Therefore, if you focus too close, or too far into the scene, you will waste valuable depth of field and sharpness.
Although it is not the most precise or scientific method, focusing one-third of the way into the scene is actually a very effective method of achieving good front-to-back sharpness. This simple approach will prove effective in a large number of situations. However, to maximise depth of field, it is more reliable to calculate the hyperfocal distance. This is the term for the exact distance that will maximize depth of field for any given aperture and focal length combination. You don’t need to know the mathematical formula, or do anything very complicated, to calculate this point, though. Simply use a chart or download an App like PhotoPills or DOFMaster. Then, just enter the aperture and focal length you’ve selected and the app will calculate the distance for you. Focus on this distance to maximize depth of field – something that is most important when you have very near foreground interest and require a particularly large zone of focus.
Further Reading: “Staying Sharp: How to Use Hyperfocal Distance“

#10 Less is more
The best landscape images are often simple. Don’t try to be clever just for the sake of it – less is often more. With wide-angles being so extreme today, it is tempting to always go super-wide and capture huge vistas. However, doing so can make compositions look too busy, or overly complex. It might sound obvious, but think very carefully about what you include and exclude from the image-space. Simplify scenes when possible, opting for longer focal lengths when appropriate in order to refine a composition or place emphasis on a specific point of interest.
Further Reading: “How to Take Landscapes with a Telephoto Lens“


