
7 Tips for Beginners in Underwater Photography

With more of us dipping our toes into underwater photography every year, it’s hard to know where to start with such a vast market of underwater equipment and very little practical knowledge. Moving your camera kit from land into the sea can at first feel daunting. The rules of composition, light, and technique completely change underwater and, let’s face it, that’s not even talking about the elephant in the room. The cost of equipment alone can make the dream of underwater photography seem out of reach for any novice photographer.
But getting the images you want is often far less to do with your equipment, and more to do with understanding how you, and your camera, will work beneath the surface. This tutorial will take you through the basics of underwater photography for beginners, giving you a firm foundation before you venture from land. Nobody wants to fit in the category of “all the gear but no idea,” so I’ll even throw in a few tips on how to get the stunning photos you want without it costing an arm and a leg.

#1 Get comfortable with your camera
Underwater cameras come in a wide variety of options – whether you’re using a small compact camera, pocket action camera, or a large DSLR housing – but the rules stay the same regardless. Any camera, large or small, will be useless if you don’t know how to use it.
Get yourself comfy on the sofa and give it a trial run. How do you change your settings? Can you zoom? Are there attachments for strobes or a flashlight? Can you switch to video mode without looking? These are all things you will need to be able to do comfortably and instinctively.

You might be thinking “is that it?”. No – next we need to take it to the tub – or at least a small body of water. This could be a swimming pool, your pond, or even the kitchen sink.
The idea is that you know how to work your camera with ease once it’s underwater. It’s worth checking what depth your camera is made for so you know what your limitations are.
For those of you who are cold water divers, I’d highly recommend doing this in a large pair of neoprene gloves. This will give you a far more realistic experience of how hard it can be to manage your camera in bad conditions.

#2 Build confidence in the water
Whether you’re a snorkeler, a swimmer, or a diver, controlled breathing will always be the most important thing that you ever learn. Your breathing regulates your buoyancy and your ability to stay off the sea bed or float on the surface.
Crash landings on the sea floor can ruin your visibility (and your reputation with other divers), so it’s best to practise buoyancy control in a local pool. You need to be 100% comfortable in the body of water you plan on photographing. If this is the sea, make sure you have adequate open water experience – your safety comes before everything.
Being confident in your ability underwater will be invaluable to your photography. You’ll spend less time treading water and be able to focus on mastering your technique.
It’s incredibly easy to get absorbed in your camera and forget where you. Your camera is no replacement for a buddy, so be aware of your surroundings and keep yourself safe.
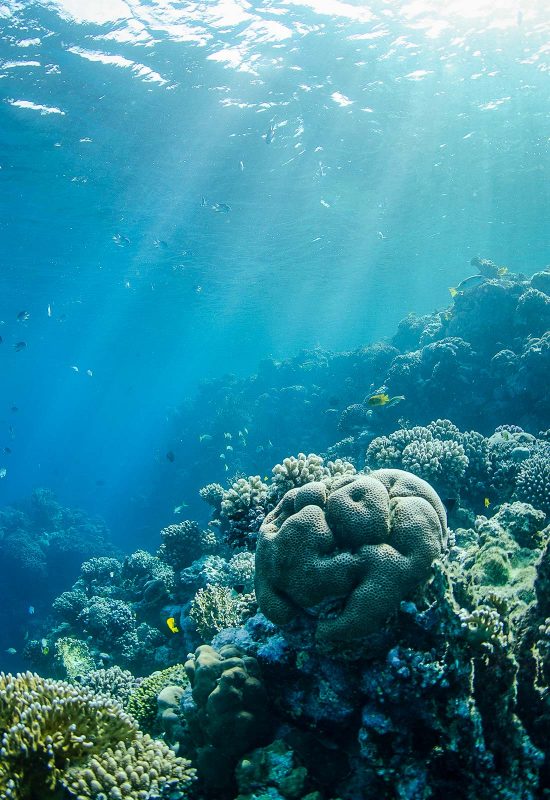
#3 Understanding light
Water absorbs light from the surface very quickly, and this absorption drains your images of colour the further beneath the surface you go.
To counteract this, you need to get far closer to your subject than you would need to on land. Reducing the amount of water between your subject and the front of your lens will make your images clearer and more vibrant – removing the dull blue tinge that you can often get in underwater photographs.
Read more: 8 Tips for Creating Amazing Lighting in Underwater Photos
Additional ways that you can counteract this loss of colour and light include staying shallow, slowing your shutter speed, or using additional strobes with your camera. For higher end housings, I like to use INON strobes with diffusers, but an underwater torch can also give you great results without the large price tag.
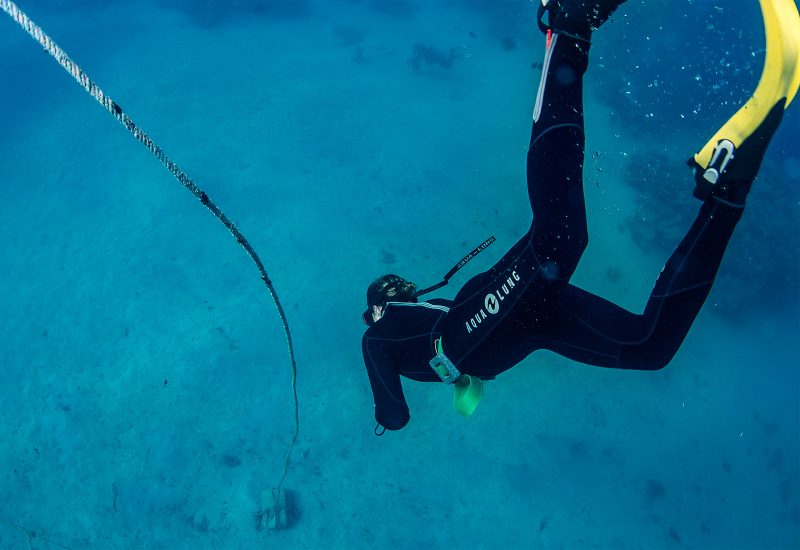
#4 Taking it low and slow
At the first glimpse of something photographable, it’s easy to get excited and frantically follow your subject. I’ll save you the trouble – this will never work.
Take a moment to breath and focus, and slowly descend yourself to below your subject.

This will save you panicking marine life by flying in from above, and will give you far better angles to take your photographs.
My favourite thing about underwater photography is how it forces you to take things at a different pace and relax. To make your dive an enjoyable one, stay low, and take it slow.
#5 Rinse and repeat
Here’s a tip that nobody wants to hear: your first photographs will never be your best ones! It’s easy to be discouraged at your first underwater images, but it really is just part of the process. All photography takes practice, and getting your head around the underwater environment can take even longer.

Don’t be afraid to fill your camera with photographs, and check each one as you go to see what settings need changing, or how you could have better positioned yourself.
Ask yourself, where is the light coming from? Could you have pushed yourself further down to eye level? A lot of shooting underwater is trial and error, and the more time you spend practising, the higher success rate you will have.
#6 Post production
When you’re just getting started, there are a few basic post production tools that can help bring your photographs to life after a dive. Whether you’re working with Photoshop, Lightroom or a different program, these few tweaks are widely available on most editing software.
Read more: Lightroom Tutorials – How to Use Lightroom to Edit Photos
To begin with, you need to look at the colour temperature of your image. Underwater photographs often turn out on the colder end of the scale, with a bluish tinge covering your subject, especially if you haven’t been able to get close enough to them.
Tweaking your colour temperature to the warmer end of the scale can bring balance to your image, bringing out the yellows, whites, and greens within the photograph.

Another common problem you could encounter is backscatter, which is small particles in the water that cloud your image. For this I’d recommend using your clone tool to remove small blemishes.
Finally, raising your shadows and playing with either your clarity or de-haze tool is a good bet for really bringing out the contrast and texture of your image, which you can often lose underwater. As always, use each adjustment in moderation!
#7 Recommended equipment
When buying camera kit to get you started, I’d recommend starting small and working your way up. You’ll have a far better understanding of how the environment works without a large price tag hanging over your head.
There are a multitude of compact camera options to browse through at budget prices, but for a higher range DSLR I would recommend using Nauticam housings. These come in a variety of price ranges for Nikon cameras, and provide good quality with a robust build. If you’re more inclined to Canon, Ikelite housings are a good alternative option.
Read more: What Equipment Do You Need for Underwater Photography?
Don’t be afraid to buy second hand equipment; you can often get fantastic kit at brilliant prices. However, be sure to check that they’ve been well maintained, and that all the O rings are intact and clean. Water and electronics tend to not get on very well, especially if not rinsed with freshwater and cleaned after every use.
It’s important to remember that you will also need basic equipment to keep you safe in the water, such as a decent mask and snorkel, fins, and a warm neoprene layer or wetsuit. It is far more sensible to invest in this than a large underwater camera when you’re just getting started.
In conclusion
Getting started in underwater photography can feel frustrating, but it’s important to not be afraid to experiment… and enjoy yourself most of all!
Remember that every professional photographer has been exactly where you are now, and the only way you will get better is to give it a go.
Read more: 13 Ways to Improve Your Underwater Photos


