
13 Ways to Improve Your Underwater Photos

Underwater photography is a challenge, but it’s great fun. It can seem daunting to take the plunge into the realm of shooting underwater, but with a bit of perseverance and creative flair, you can learn to make some really wonderful images and become involved in a constantly changing and captivating environment. Whether beginner or intermediate, these tips should give you some more things to consider in your photography, and some new ideas to develop your skills further.
#1 Strobes vs. Natural Light
Your choice on whether to use strobes or natural light is dependent on the conditions. When working in shallow waters on a fisheye or wide-angle lens, it’s much easier to get away with using just the natural light. Working without strobes will give you extra maneuverability with your camera, the option to shoot faster than 1/250 sec, and also you can capture natural lighting like sunbeams through the water. If you’re shooting a truly wide image, will your strobes even reach the subject you’re trying to light? If not, maybe you don’t need them.
When shooting macro, typically you will always be using strobes. On an overcast day, strobes should be used even for a wide-angle in shallow water, and they will really make your subject pop against the background. Using strobes will correctly expose the scene for you, saving you time in manually adjusting the white balance or correcting it in post production. Strobes can assist you in being extra creative with light. It’s similar to if you were working in a photography studio; adjusting them ever so slightly can completely change the lighting. You can use this to your advantage, playing with positioning to make interesting shadows, side lighting, or even backlighting.
Further Reading: “Master Backlighting in Wildlife Photography“
#2 Be Comfortable & Know Your Subject
The most important thing in underwater photography is being comfortable in the water and with your surroundings. You need to be confident enough with what you’re doing (whether snorkeling, free diving, or scuba diving); enough that you can completely focus on the camera, and the images you are shooting.
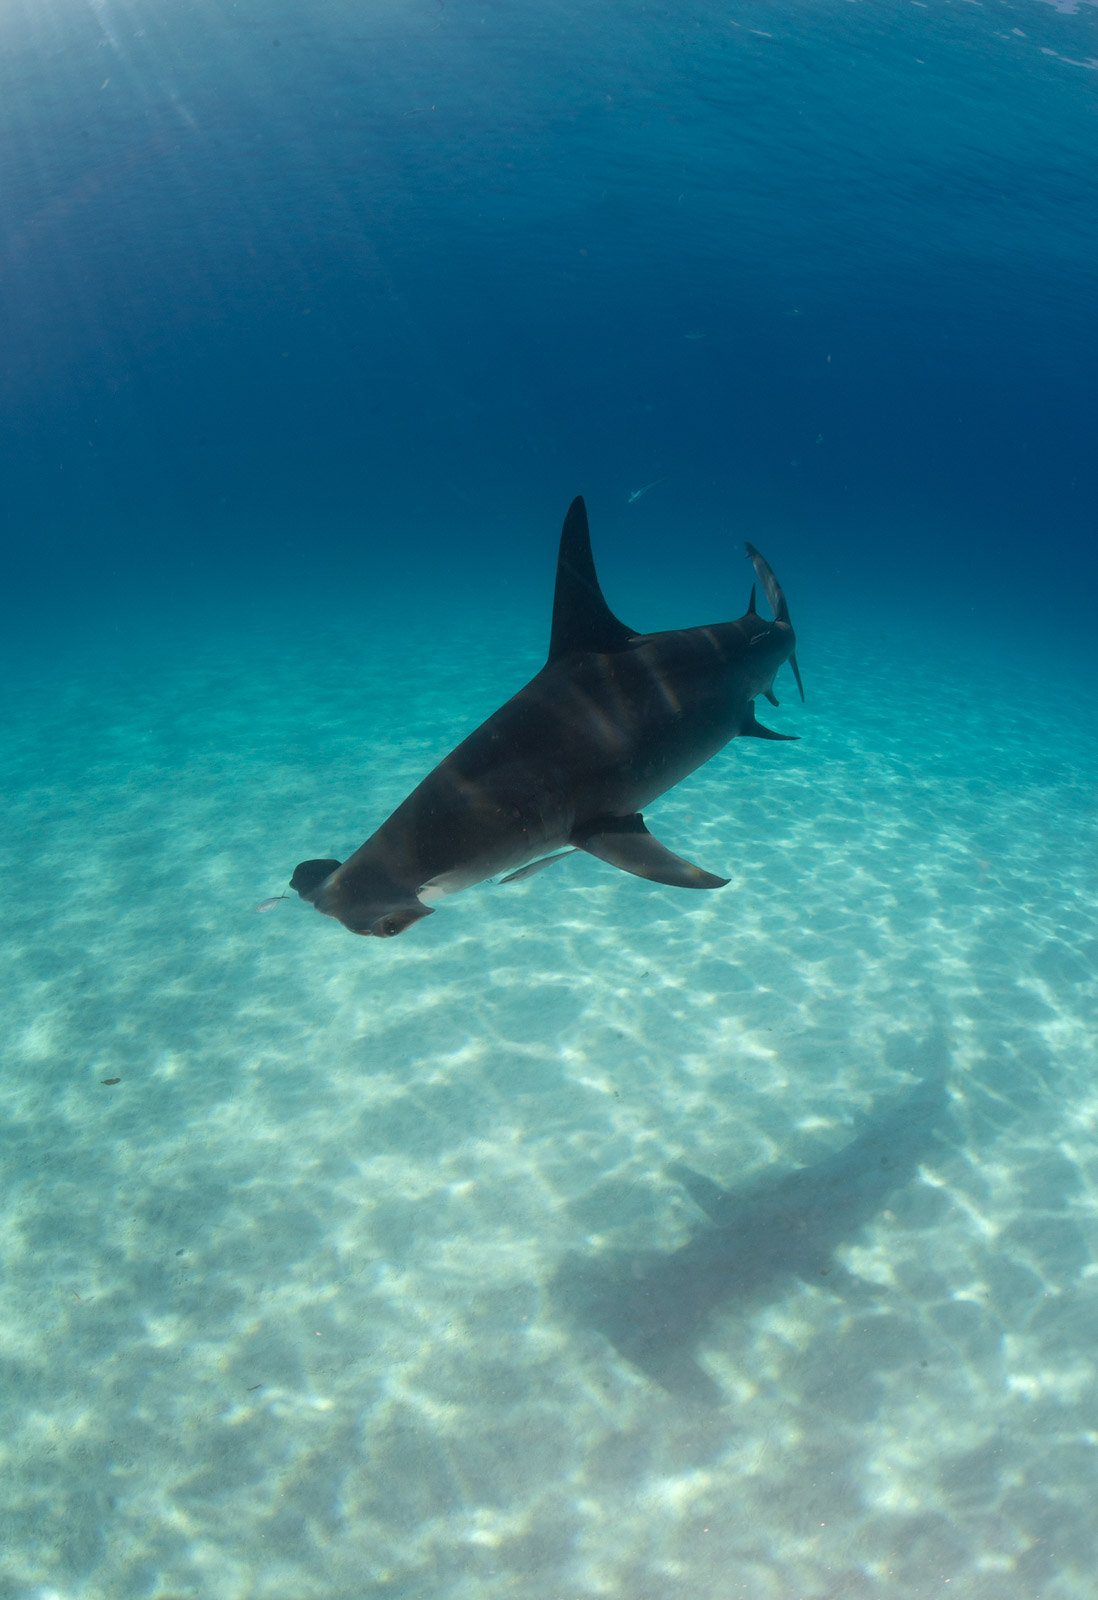
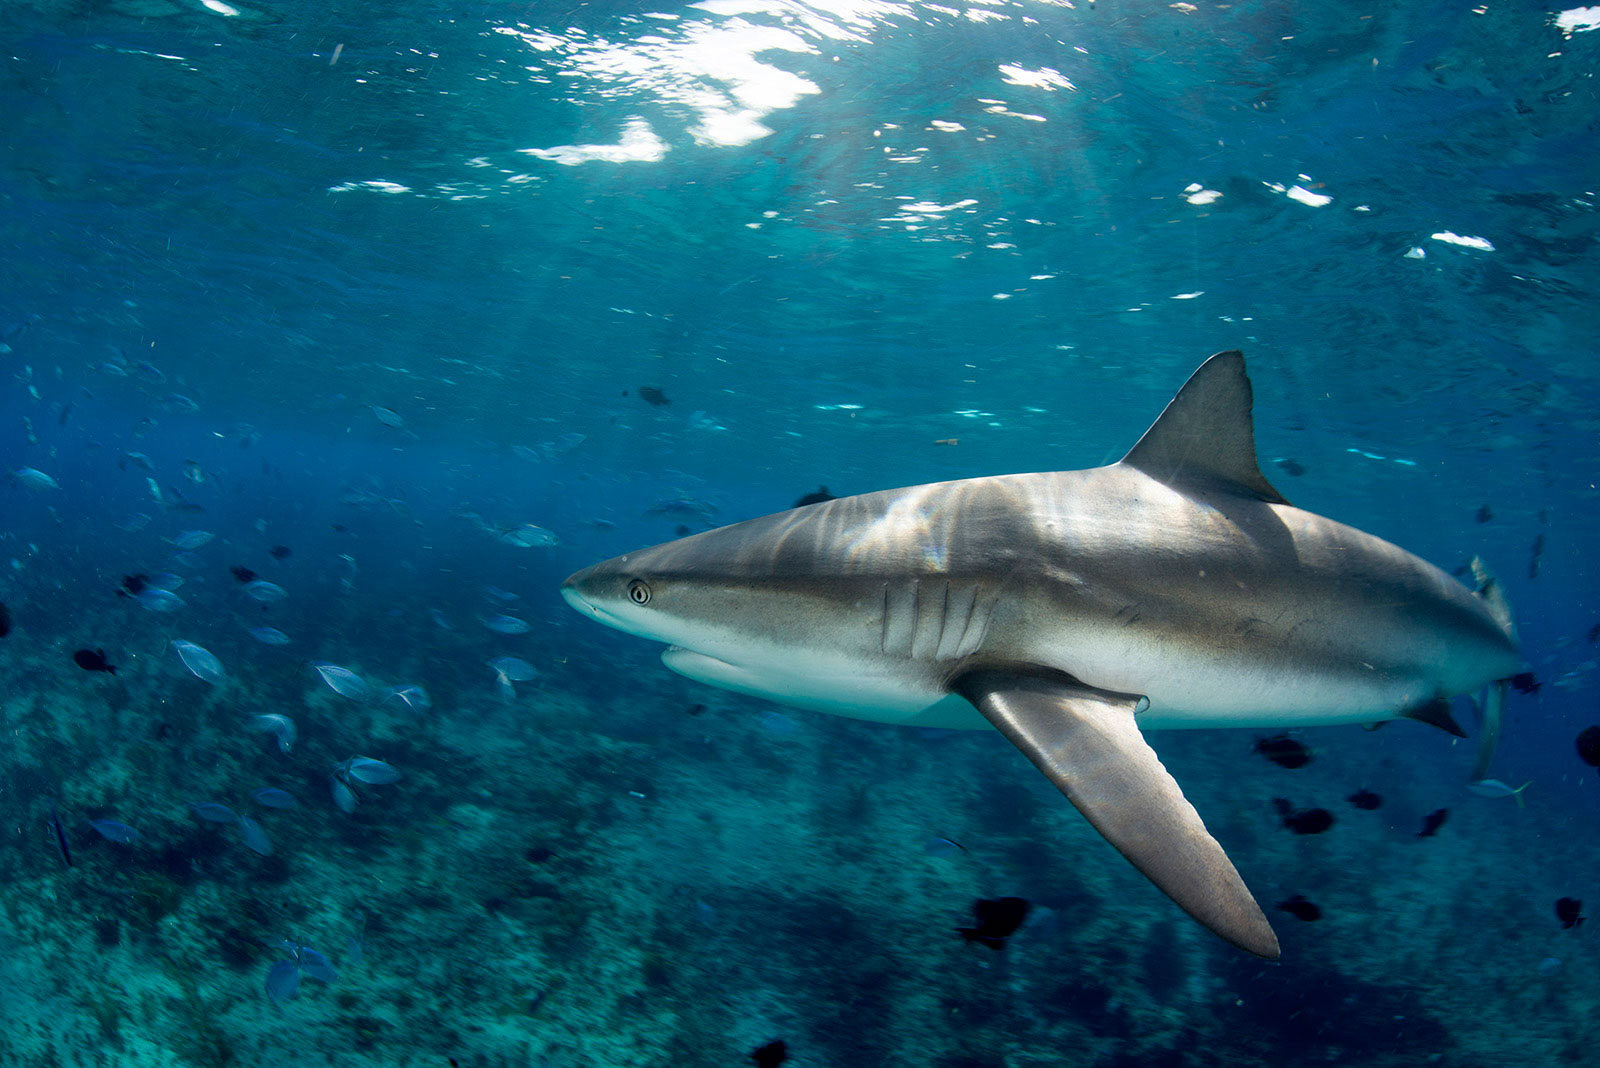
The same applies to knowing your surroundings and your subject. Working with large sharks may seem intimidating at first, so it’s important to watch and learn their behaviour so you can try predict what may be coming next. Knowing your limits will help too, such as how long a dive you can expect, and planning what you can manage to achieve in that time.

#3 Don’t Forget to Shoot Vertical
As most underwater housings have two handles on either side, it’s very easy to stick to shooting landscape simply out of comfort. However, shooting portrait, or vertically, can really help make a composition stronger. It adds depth to an image, such as showing the water surface and the sea floor simultaneously. You should experiment with different orientations, especially if you plan on selling images for editorial use as editors often want to play around with the text and layout.
It may seem obvious, but choosing portrait orientation for a portrait of a marine subject is much stronger than shooting landscape and then cropping the image. Getting the image composed correctly in the camera will save you a lot of time when post processing.
#4 Introduce Motion Blur
Choosing the right shutter speed for your subject is key. When working with strobes, you have the option to play around a lot more with shutter speeds. Slowing the speed, whilst continuing with fast flashes on rear sync setup, can freeze your subject but add a creative motion blur to the background at the same time.
This technique can be used in macro and wide-angle photography, and will make an image of a familiar subject a lot more interesting. You can also manually drag the camera in a certain direction to achieve the blurs you want to create.
#5 Try Your Hand at Split Shots
Split shots; half and halfs; over under… there’s plenty of names for this technique. It’s a very useful way of shooting when you want to show two sides of your story: above the water, and below. The main challenge with split shots is keeping level, but also being aware of where your focus point may be too. It’s very easy, with a central focus point, to have a sharp water line through the middle of your image, yet the topside and underwater remains out of focus. Your focus point should normally be in the lower half of the image, pulling the viewer’s eye to a certain element of your underwater scene. It’s very unusual that you would choose to focus above the waterline in these kinds of images.

There’s no point attempting this method in choppy seas. Instead, target a pond or even a swimming pool if the sea is too rough, and see how showing both sides can change the story of your shot.
#6 Stick with Your Subject (& Make the Most of Your Dive)
Often many underwater images will be taken during a scuba dive, and it’s important not to rush yourself in these situations. If you find an interesting species or subject at the beginning of your dive, then stick with it. Keep an eye on animals and watch what behaviour may occur; you could fall upon mating or courtship behaviours that make a really wonderful image.

Don’t rush through a dive trying to shoot as many animals as possible, but take your time and maybe stick with a common species, but try challenging yourself to photograph it in a new way.
#7 Get Close!
Due to the refraction of water, your subject may look closer than it actually is. But whether you’re shooting on a fisheye or a macro lens, getting as close as possible will make your life much easier. Stay calm and move slowly, taking care not to disturb your surroundings. Patience, controlled breathing and gentle movements will allow you to get closer to your subject.
With autofocus settings in macro photography, the camera may have a tendency to zoom in and out of focus trying to find your subject, but by getting close, letting your subject fill the frame, you should manage to avoid this searching motion.

We all know what happens when using a fisheye lens: the scene is distorted and the camera’s field of vision is much larger than you’ll naturally see. Don’t be afraid to get your dome port as close as possible to your main subject – it will be easier to focus and your background won’t be compromised.
#8 Expose for the Background
This rule is very important to remember when using strobes to light your subject. Choose your background and select the best settings that will expose this area correctly. Using a small aperture (high f-stop number) will work towards creating a black water background, and you can adjust your aperture accordingly to set your water colour to a shade you like. The wider the aperture (lower the f-stop number), the lighter the water colour.

If your foreground subject seems underexposed then that’s okay – that’s what your strobes are for! Even a low strength flash will bring out the natural colours of your subject against the scenery. Remember, it’s always better to underexpose instead of overexpose, as detail can be more easily lost through overexposing.
#9 Be Ready, and Keep Your Head On a Swivel
Underwater environments are ever changing, whether you’re diving around large marine animals in the tropics, or in the cold waters of the UK. Of course, spend time setting up your shot, and review your images if possible, but don’t get ‘tunnel vision’ as you never know what may be behind you!
Watch your surroundings, and when working with fast moving subjects make sure you’re ready to shoot with the correct settings before you jump in the water. You may miss a quick opportunity with a friendly dolphin or seal if your head is buried in the camera and you’re not paying attention.
#10 Use Your Buddy
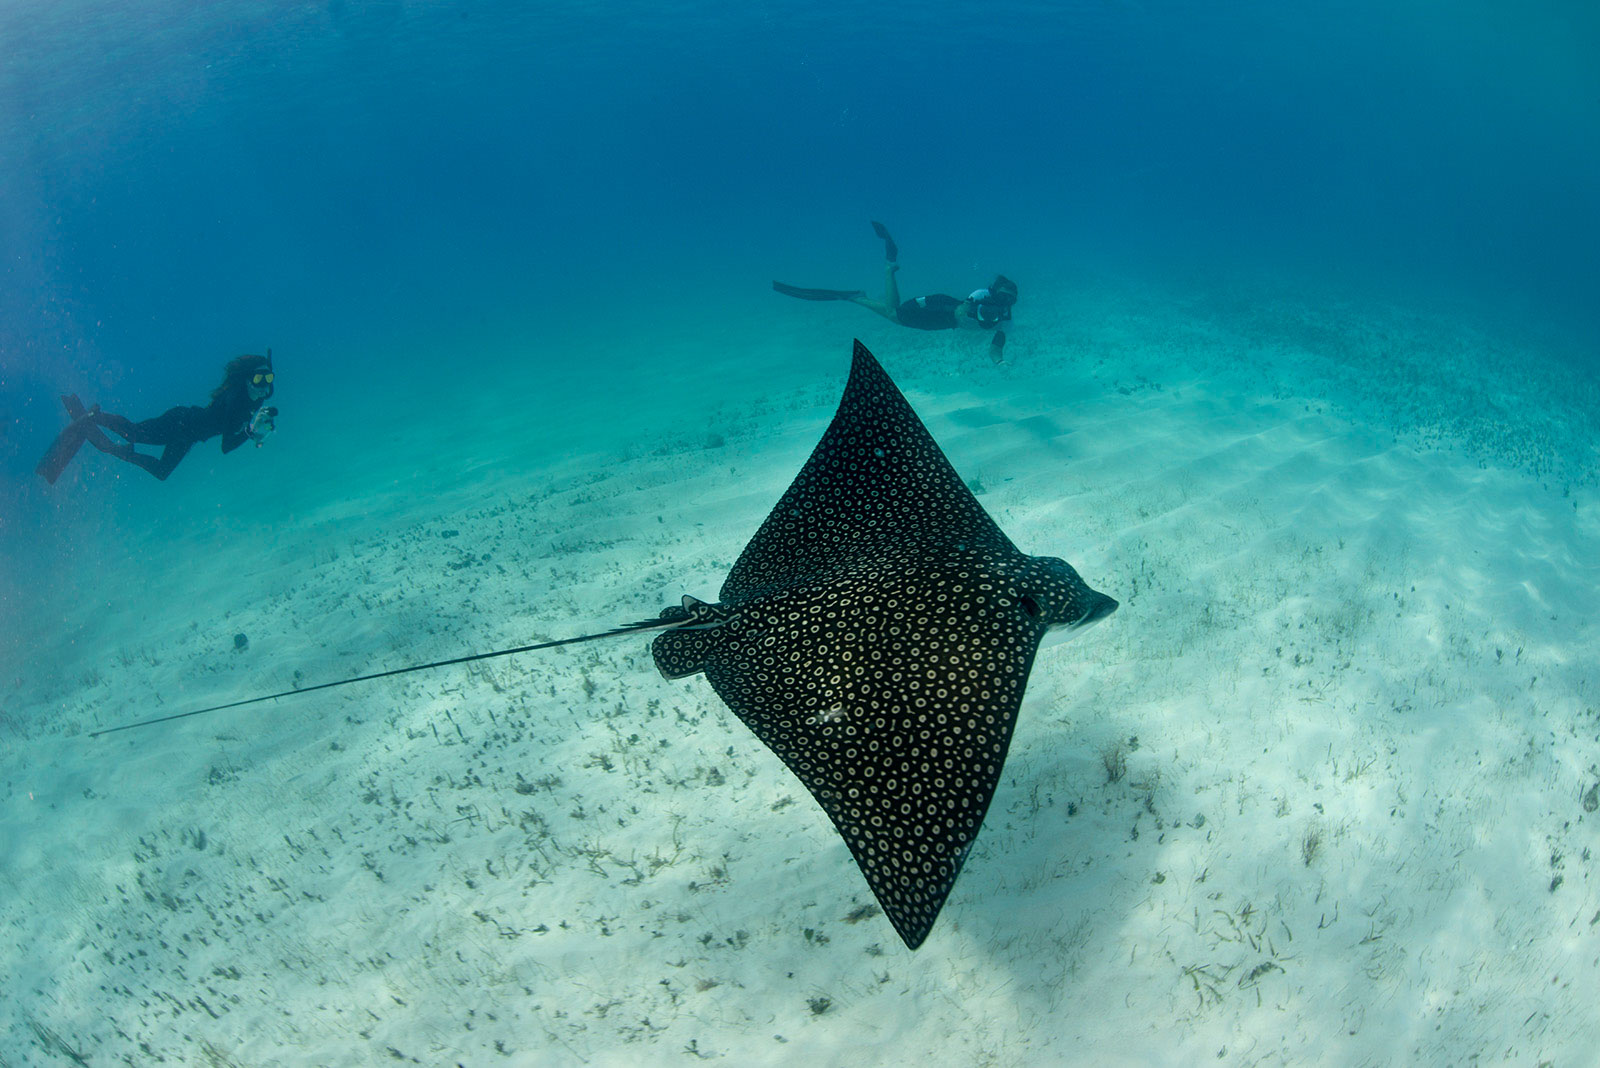
Not only is your buddy there to watch your back and help you out with safety, but they can also be used to help with your photography! Incorporating people into your shots can make a composition more interesting. It adds a sense of scale, or allows you to record a human and marine life interaction.
Your buddy can also be useful if you’re shooting macro subjects too. Whilst your hands are occupied by your camera and adjusting the strobes, they can lend a hand by holding a stray piece of seaweed out the way of your strobes, your vision, or your subject. Make sure that you decide on a plan beforehand, or agree on signals so you can communicate easily with your partner and set up a shot in the best way possible.
#11 Shoot in Burst Mode
Shooting in burst mode can be very beneficial to you as an underwater photographer. If you’re having real trouble focusing on a small subject, switching to manual focus and gently moving back and forth, whilst reeling off frames in burst mode, can help you get a sharp image. If shooting fast-moving marine life, shooting bursts will give you a selection of similar images that you can later choose the most suitable from.
#12 Don’t Forget Your Composition
Some underwater photographers prefer a ‘shoot from the hip’ technique. It can be effective sometimes, but one of the most important elements to a striking image is the composition. You can adjust lighting to a certain extent in post processing, but your composition is mostly unchangeable, and it’s vital to get this right in the field.
This means if you aren’t shooting through the viewfinder, then review images after you’ve taken them and check what may be working with your scene and what isn’t. Then you can adjust things accordingly and reshoot.
#13 Look for Textures and Patterns
There’s always something to be photographed in any environment. When you have the benefit of a macro lens, being able to get close-ups of a subject can be very advantageous if you’re having a bit of a creative block. Just keep an eye out for patterns around you and use your lens to get as close as possible to highlight colours and shapes.

Look for reflections of light, or how the water may be distorting what’s around you, and simply document a subject you’re intrigued by!
Further Reading:


