
Hyperfocal Distance: Focusing in Landscape Photos
Hyperfocal distance is a term that puts many photographers’ heads in a spin, but if we skip over the complicated maths the basic principal is a very useful way to maximise image sharpness by making best use of depth of field.
As a reminder, depth of field refers to how much of the picture will be in focus from front to back. Depth of field is affected by focal length, the shooting distance between the camera and subject, and the aperture used to take the picture. Depth of field is greatest when using short focal length lenses such as a wide angle, and decreases as focal length increases. Similarly, depth of field can be increased by using a smaller aperture setting and by moving further away from the subject.


However, depth of field is also affected by the point of focus – i.e where you chose to focus the lens. This is the same as the shooting distance but it is important to recognise that more of the scene will be brought into focus behind the point of focus than in front of it. By optimising this point of focus it’s possible to extract the greatest possible amount of depth of field from the scene or subject you’re photographing and therefore capture as much as possible in focus from the near to far. This optimal point at which to focus the lens is the hyperfocal distance.

The hyperfocal distance is the distance between the camera and the optimal point of focus, and is different for every focal length and aperture setting you use. But don’t worry, these values can easily be looked up.
When a lens is set at the hyperfocal distance, depth of field extends from half this distance to infinity. Because focal length is effectively altered by the crop factor of the camera, the sensor size will also affect the hyperfocal distance. Therefore, this also needs to be taken into consideration, but this is incorporated into the hyperfocal distance charts available to download.

As an example, the hyperfocal distance for a 28mm lens, set to f/16 on a camera with a 1.6x cropped sensor, is 2.6 metres. So, when this lens is focused at a distance of 2.6m everything from 1.3m (half of 2.6m) to infinity will be in focus. Hyperfocal distance focusing is therefore very useful when shooting landscapes as a way of bringing near and far parts of the picture into sharp focus.
Read more: Where to Focus in a Landscape Photo
It is most useful when photographing scenes that include subjects close to the camera, for example when photographing a landscape with close foreground interest but which also includes distant subjects as well. By utilising hyperfocal distance focusing, it is therefore possible to capture all parts of the scene in sharp focus by using the appropriate aperture setting.
Hyperfocal distance focusing can be used on any subject to maximise image sharpness, but is most often used for shooting landscapes when you usually have more time to put it into practice. It is usually employed when using lenses of 200mm or shorter since depth of field is so shallow at longer focal lengths that it becomes largely irrelevant.
When photographing a landscape with a wide angle lens where all parts of the scene are more than say 15m away, then it really doesn’t matter where the lens is focused because depth of field will be sufficient to bring all parts into focus. However, if the nearest part of the scene is only 2m away and you focus using the central focusing point in the middle of the picture then it is very likely that the nearest foreground will be unsharp because depth of field hasn’t extended this far forward. This is a common mistake when shooting landscapes and one reason why foregrounds may be out of focus.

Going back to the maths of hyperfocal distance, in the previous example of using a 28mm lens on a 1.6x cropped sensor camera everything in the scene from 1.3m to infinity will be brought into focus when the the lens is focused at 2.6m. However, if the lens was focused at 5m then anything closer to the camera than 2.5m would be unsharp. You would have ‘wasted’ some of the depth of field available and important parts of the foreground closer than 2.5m would be out of focus, spoiling the shot. Similarly, if the lens was focused at 10m then anything closer than 5m would be unsharp. When photographing a scene that includes both near and far subjects then focusing at the hyperfocal distance will ensure the sharpest shots possible.
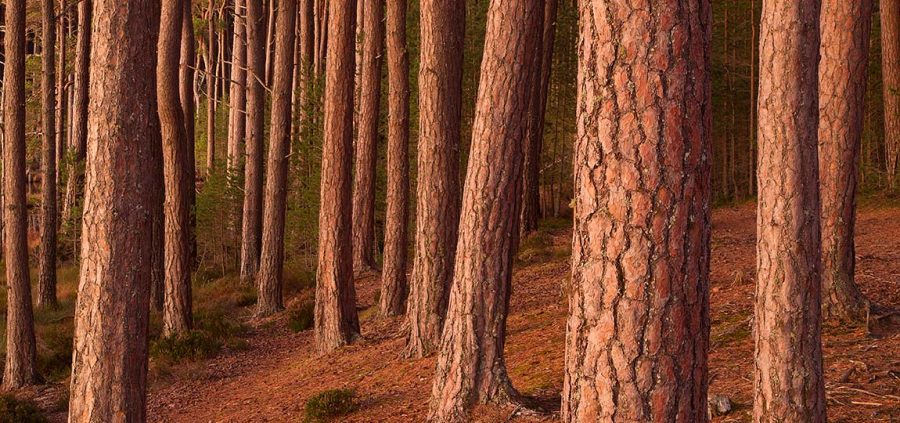
Similarly, when using longer focal length lenses – which reduce depth of field – then it’s equally important to maximise sharpness by using hyperfocal distance focusing. As an example, a 100mm lens at f/16 on a full frame sensor would have a hyperfocal distance of around 33m. If this was used to photograph a stand of trees in a woodland then all parts of the scene would be sharp from 16.5m to infinity. However, if the extent of trees didn’t extend to infinity then the lens could be focused slightly closer at say 20m so that everything from 10m to 450m was sharp.

Therefore, although the hyperfocal distance is helpful in achieving shaper focus from half this distance to infinity it can sometimes be better to focus closer when the most distance part of the scene is not at infinity. In this situation it is better to maximise the extent of depth of field for the scene you’re shooting by using a depth of field calculator. There is a good calculator available here.
How to use the hyperfocal distance technique
#1 Find the hyperfocal distance
Use the Depth of Field Calculator above to find out the hyperfocal distance for your camera and the focal length of the lens you are using. You can print these out and carry them with you in your camera bag for easy reference or bookmark this web page on your smart phone.
Leave the subject distance blank or set to ‘0’ to obtain the hyperfocal distance. Alternatively, put in a value to find out the extent of depth of field from near to far for any given focusing distance.
#2 Set your focus point
Switch the lens to manual focusing (M or MF on the lens barrel) and focus the lens at the hyperfocal distance either by using the distance scale on the lens (if it has one) or by estimation. If you want to be pedantic you could measure this distance very precisely but there is really no need and estimating the distance is usually sufficient and easy to do with a little practice. Using Live View and magnifying the picture on the LCD screen is a good way to focus on a precise spot a known distance away from the camera. If you wish you can focus using autofocus (AF) and then once focus has been acquired, switch the lens to manual focus or lock focus.
#3 Choose the optimum aperture
Set an aperture to provide sufficient depth of field for the scene / subject you are photographing. Typically, this will be a small setting such as f/16. However, it may not always be necessary to stop the lens down so much to bring all parts of the scene into focus, especially when using a wide angle lens; a setting of f/8 or f/11 may be okay. At these settings most lenses are at their sharpest so if you don’t need to use the smallest aperture then use one of these mid-value settings instead for optimal image quality.

#4 Check your shot
Remember that when the lens is focused at the hyperfocal distance, depth of field extends from half this distance to infinity. However, if the farthest part of the scene is closer than infinity then you can focus the lens slightly closer than the hyperfocal distance to bring parts of the scene closer to the camera into focus.
It is always worth checking image sharpness after taking a shot to see if all parts of the scene have been recorded in focus. Zoom in and scroll around the edges to check the nearest and farthest parts. If the nearest part isn’t sharp then focus slightly closer and take another frame and re-check.
In conclusion
Bear in mind that it may not always be possible to capture all parts of a scene in focus. This is because of the limitations of depth of field for the lens, aperture and shooting distance combination used. In this case one of these parameters would need to be changed to increase depth of field or you would need to decide what is the most important part of the scene that you want to be in sharp focus.
For example, for a scene with very close foreground interest that was dominating the picture then you’d want this to be sharp and so it would be a case of focusing the lens using the principal of maximising depth for field to bring the nearest point into focus.
This may then mean that the farthest part of the scene may be slightly soft, but if this is of less importance then this would be a satisfactory compromise in order to record the main focal point and most interesting part of the picture in focus.


