
How to Take Amazing Spider Macro Photos

Spiders: we run from them, scream at them, stomp on them and kill them. They come in all shapes, sizes and colours, and we fear them more than any other British garden inhabitant. But why?
Growing up as a child I did all of that. If ever I saw a spider I would shudder and lash out. Am I an arachnophobe? Of course not, it’s what the majority of us do. We are taught to fear these creatures without even knowing why. You read about it in the press every year ‘Killer spiders invade Britain’ or ‘Cold weather forces venomous spiders into our homes’. The fact is that spiders have been around for millions of years; they’ve been in our houses and gardens, all around us, and nothing has changed.


Spiders are an essential part of our ecosystem and the perfect allies in your garden. Farmers and gardeners alike should love them. They control insect populations worldwide, and they even control their own populations, often eating smaller species of spider or in some cases their mate. Spiders are also a natural food source for birds and some mammals.
In this tutorial, we will be looking at some of the spiders that inhabit our garden and how to photograph them using a macro lens and a DSLR camera.
What Gear to Use
- A DSLR
- A macro lens capable of at least 1:1 macro
- An external flashgun
- Some diffusion materials (e.g foam/paper)
I use a Canon 6D, Canon MP-E 65mm lens and the Canon MT24EX Flash System with added homemade diffuser made from packing foam, white plastic and tracing paper. It may seem expensive when looking at the gear required but I started off my macro photography journey with a second-hand Sigma 105mm on a Sony Alpha body with a cheap flash. I think the whole Sony and Sigma set up cost me around £500.
Further Reading: An Introduction to Macro Photography – Equipment
Spiders as a Subject
In my opinion, spiders are one of the trickiest subjects to photograph. They are small and easily disturbed, and unless they are on a web then chances are they don’t sit still for very long.
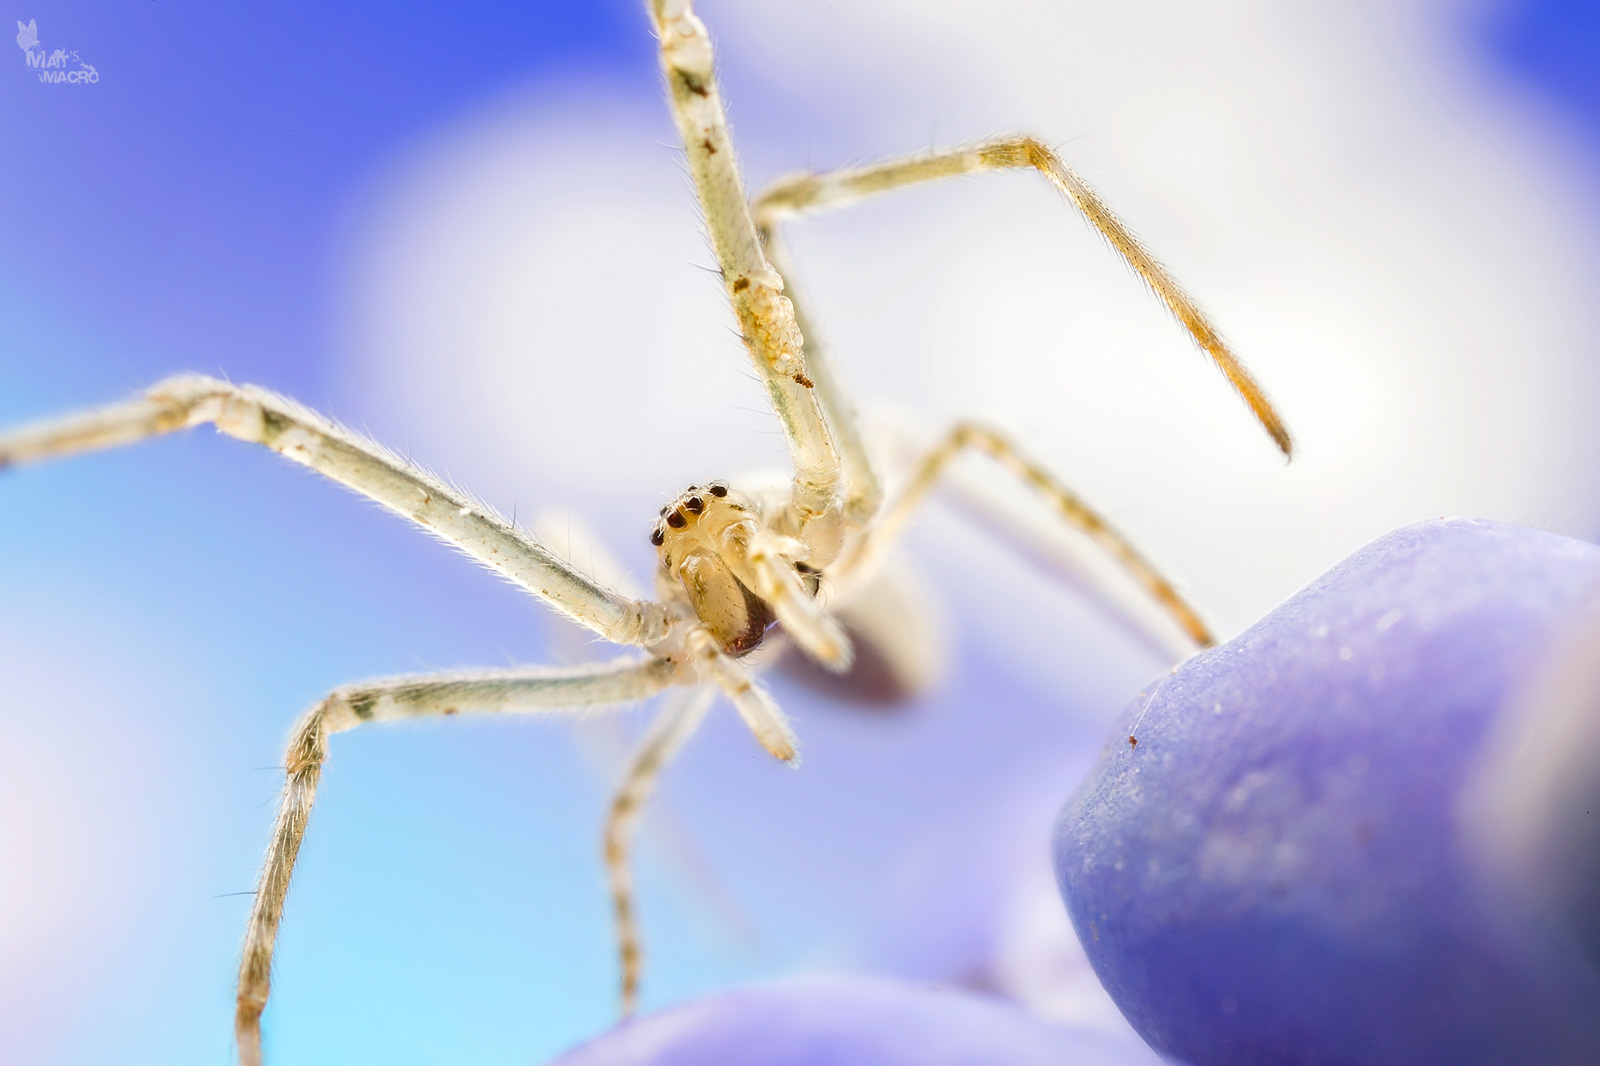
Aside from the garden shed, knowing where to find certain spiders is key. Jumping spiders, like the one pictured below, favour sunny spots like garden fence panels and walls. These amazing little spiders do not build a web to capture their prey, and instead they use their big eyes to locate and jump onto their prey.

Wolf spiders can be found in most places. I find mine in long grass, in or around rockeries, and at the bottom of my fence panels.

The fact is, spiders are very versatile and you can find them almost anywhere.
How to Approach the Spider
Once you have located your spiders you are going to want to be prepared, and having your camera set up ready to go is essential. Have your macro lens set at full magnification of 1:1, use manual focus, and move your camera back and forth to perfect the plane of focus’ position. Once all is set, hit that trigger when you have that sweet spot in focus in your viewfinder, then keep firing off shots for as long as your subject is in frame. Spiders will often be on the move when you try to photograph them, and unless you want a blurry photo or a noisy shot due to increased ISO then a flash is paramount, this helps freeze the spider in motion whilst also adding essential light to the subject and scene.
I always have my flash power on manual and adjust accordingly depending on the conditions at the time. Some experimentation will be needed to get this right and natural. If I’m shooting with a 1:1 macro lens, then my go to settings are as follows:
- An aperture of around f/8 or f/9
- ISO 320
- 1/125th second shutter speed
Whilst it’s true that the depth of field is very narrow at high magnification, increasing your F stop past f8/f9 will only result in a less sharp and diffracted subject.
I always find it best to fire off some test shots on a flower or around the area to make sure you have a well-lit photo, and to make any last-minute adjustments, before you try on a moving subject. You can also increase your chances by going out very early morning and finding spiders that are still warming up, as they will be very slow and inactive. Get low if you can, I’m often on my belly, and ‘stalk your spider’. Spiders are very skittish creatures and if you move too fast they will run and hide.
Further Reading: Backlighting in Macro Photography
Try to predict its path and get in front, pre-focus on an area and wait for the spider to walk into frame. This will give you great head-on photographs.
Don’t Be Disheartened
One of the best pieces of advice I can give is to not be disheartened by your photos if they don’t turn out perfectly straight away. The images you see online and in magazines are just one of many attempts, and you never get to see the blurry, blown and noisy photographs. My hit ratio is still around the 1 in 10 mark, but when you get that one shot it makes it all worthwhile.
Practise with garden spiders on the web, as they tend to be more forgiving of a camera lens being shoved in front of them. Good luck!


