
Digital Camera Modes: What Do They Mean?
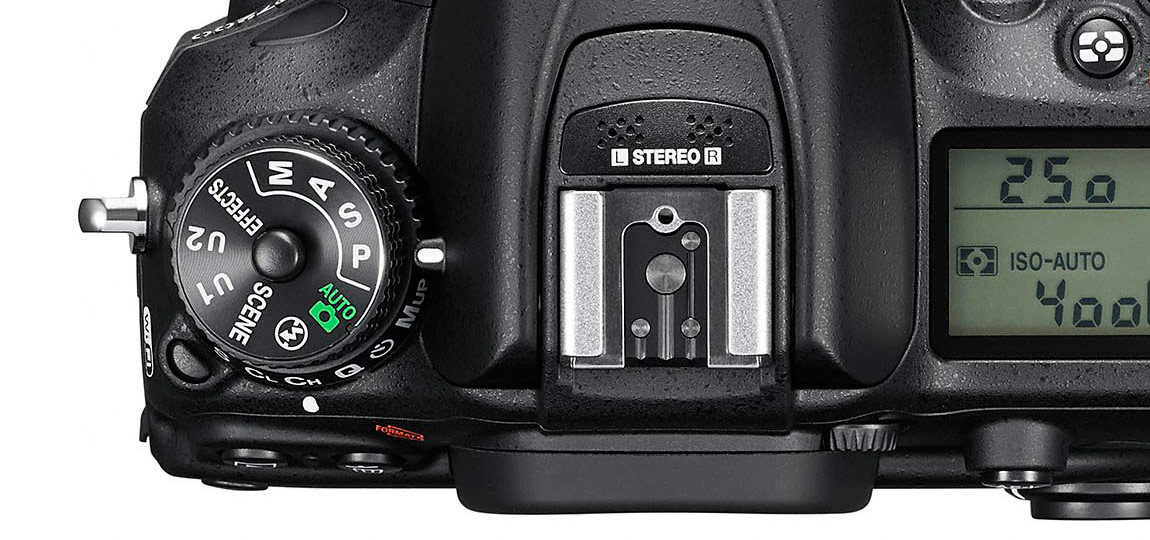

Your camera’s dial gives you a variety of options of what mode to be shooting in. You’ll likely have a selection of symbols and letters, and this can be quite confusing when you are first picking up your camera.


Knowing exactly what they mean, and what they do, will help you take better pictures as you’ll be able to get more out of your camera. This guide will look at the most common modes and what you can expect from them.
Automatic Modes
Auto Mode
This puts the camera in fully automatic mode. It has to guess what settings you want, and it isn’t very good at doing that. The aperture and shutter speed balance out together, with no real focus on either, to create a properly exposed image. The focus is hit and miss too, with the camera selecting it from a range of focal points. You’ll often find that photos are improperly focused because of this.
Portrait Mode
![]()
Portrait mode is used for photographing people. It makes the camera select a low f-stop number (wide aperture) so to maximise the light let into the camera. The wide aperture also creates a narrow depth of field, throwing the background out of focus and isolating the subject. This is particularly effective when you are close to your subject, shooting a ‘head and shoulders’ composition.
Macro Mode
![]() Macro mode is used to allow you to move closer to the subject. It’s particularly useful when photographing flowers, insects and other small details. Compact cameras will likely see a change in the minimal focus distance in this mode. The aperture will be wide in this mode, with a narrow depth of field, so you need to be sure not to move too much or you will find your photos are out of focus. In an ideal world, use a tripod!
Macro mode is used to allow you to move closer to the subject. It’s particularly useful when photographing flowers, insects and other small details. Compact cameras will likely see a change in the minimal focus distance in this mode. The aperture will be wide in this mode, with a narrow depth of field, so you need to be sure not to move too much or you will find your photos are out of focus. In an ideal world, use a tripod!
Landscape Mode
![]() This mode will select a small aperture (high f-stop value) to create a large depth of field. This ensures that as much of the scene is in focus as possible, making it an ideal choice for wide scenes with a variety of points of interest. You could find the camera uses a fairly slow shutter speed to compensate for the aperture value, so the use of a tripod is recommended.
This mode will select a small aperture (high f-stop value) to create a large depth of field. This ensures that as much of the scene is in focus as possible, making it an ideal choice for wide scenes with a variety of points of interest. You could find the camera uses a fairly slow shutter speed to compensate for the aperture value, so the use of a tripod is recommended.
Night (Portrait) Mode
![]() This mode works as a slow shutter sync mode. That means that it uses a long shutter speed to let in lots of light, whilst also firing the flash to illuminate the foreground. As shown by the symbol, this is mainly for use photographing people at night. Using a tripod will keep your background from blurring, but you can experiment and take shots handheld to create swirling patterns with any lights in the background. The flash ensures that the subject remains sharp.
This mode works as a slow shutter sync mode. That means that it uses a long shutter speed to let in lots of light, whilst also firing the flash to illuminate the foreground. As shown by the symbol, this is mainly for use photographing people at night. Using a tripod will keep your background from blurring, but you can experiment and take shots handheld to create swirling patterns with any lights in the background. The flash ensures that the subject remains sharp.
Sports Mode
![]() Most people starting out photographing wildlife will be familiar with this mode. Sports mode (also known as action mode) is used to tell the camera you want a fast shutter speed. This is great for freezing any motion, whether it be wildlife, people, pets or something else. You’ll also find the camera use a wide aperture (low f-stop value) and possibly an increased ISO speed too.
Most people starting out photographing wildlife will be familiar with this mode. Sports mode (also known as action mode) is used to tell the camera you want a fast shutter speed. This is great for freezing any motion, whether it be wildlife, people, pets or something else. You’ll also find the camera use a wide aperture (low f-stop value) and possibly an increased ISO speed too.
Semi-automatic Modes
Semi-automatic modes are the choice of most professional wildlife photographers. Landscape photographers tend to vary more between these and full manual. Let’s take a look at what they do.
Aperture Priority Mode
Signified by either ‘A’ or ‘Av’, aperture priority mode lets you tell the camera exactly what aperture value you want. You can also set your ISO value manually, and the shutter speed then changes automatically to balance the exposure. You can fine-tune this using the exposure compensation button.
This mode is favoured by many wildlife photographers. The reasons for this are covered in detail in this article.
Shutter Priority Mode
This mode is signified either by ‘S’ or, more confusingly, ‘Tv’ (standing for time value). If you haven’t guessed it already, you’re able to select the shutter speed you want and let the camera balance the exposure using the aperture. The main issue with this mode is that setting for a shutter speed that is too fast for the light conditions can still result in an underexpose image. That’s because the aperture of your lens cannot be infinitely widened; there is a point where your lens cannot reach a lower f-stop value.
Program Mode
Only present in some camera models, program mode is very similar to auto mode. It just gives you a little more control over things like white balance, ISO and flash. It’s probably the most ignored mode of them all. It works differently from camera to camera (for some it is actually the fully automatic mode), so check your manual for more details.
Fully Manual Mode
Manual mode is signified by ‘M’ on the camera’s dial. It gives you full control over everything, rendering exposure compensation useless in this mode. You have to control the shutter speed, aperture, ISO, white balance etc. all yourself.
Some wildlife photographers choose to use fully manual mode with the ISO set to auto. This allows them to set both the aperture and shutter speed as desired, whilst the camera balances the exposure by setting the ISO. In this instance, exposure compensation will work.
When you’re learning to use your camera, using full manual is a good way to get a proper appreciation for how your camera works. It is definitely recommended that you try to learn how to manage your camera in full manual, even if you decide a semi-automatic mode is your favoured choice.


