
6 Ways to Customise and Make the Most of Your Zenfolio Website
Zenfolio is a popular website host for photographers. They create portfolio websites solely for photographers, and the best thing is they are easy to run and require no maintenance at all! I’ve been using Zenfolio for about 6 years now, and I love it – so much so that I’ve become an ambassador for them! They provide fully fledged eCommerce systems, attractive galleries, blogs and much more.
Before Zenfolio, my website was super slow and sluggish. Since making the move over to their system, I’ve never had a problem with this – something that is essential for an image-heavy website. Being an ambassador, Zenfolio use my website as an example of what can be done by using them as a host. As a result, I get a lot of emails from people asking me how to do particular things. So, in this tutorial I am going to share some ways you can customise and make the most of your Zenfolio website.


If you don’t have a Zenfolio website of your own, I recommend you sign up for one of their 2-week free trials. Plus, if you use willnicholls as a voucher code, you’ll get 20% off your subscription should you choose to continue.
#1 Create a Stylish Background and Page ‘Mat’
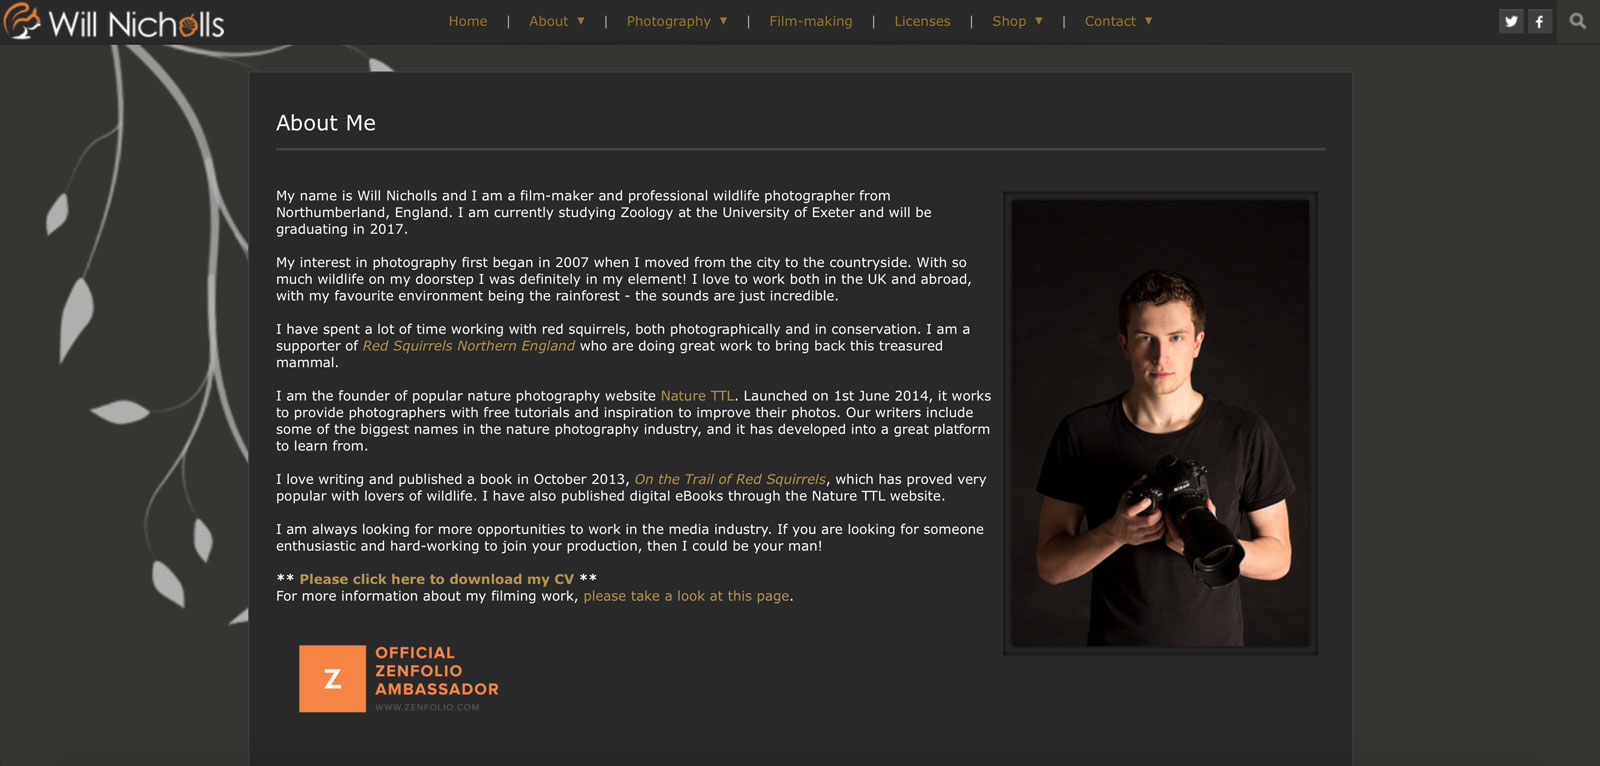
I regularly get asked how I have managed to create the signature pattern to the background of my Zenfolio website. It’s very simple, but adds a rather stylish element to each page. I’ve also got my content on a ‘mat’ for the page, instead of putting text straight onto the background design. It looks like this:
So how can you create a design like this? The design is created using a brush in Photoshop – that’s essentially a pattern you can apply again and again to a file. You can download all sorts of brushes online – just search for ‘Free Photoshop brushes’ and install the ones you like. You need to create an image file using these brushes that you can upload to Zenfolio.
To do this, first create a blank image – I’ve sized mine to 600px x 600px. Make sure the background is transparent. Now, select your brush and choose the desired colour. For me that’s white, since my website is a dark theme. My brush design is a leafy branch, and I want it to appear to grow from the top of the website. So, I lined up the brush with the very edge of the image file, ensuring that none of the leaves were cut off by other edges. Then I simply clicked to apply the brush. Remember to save the file as a PNG (to retain the transparent background), and follow the steps below.
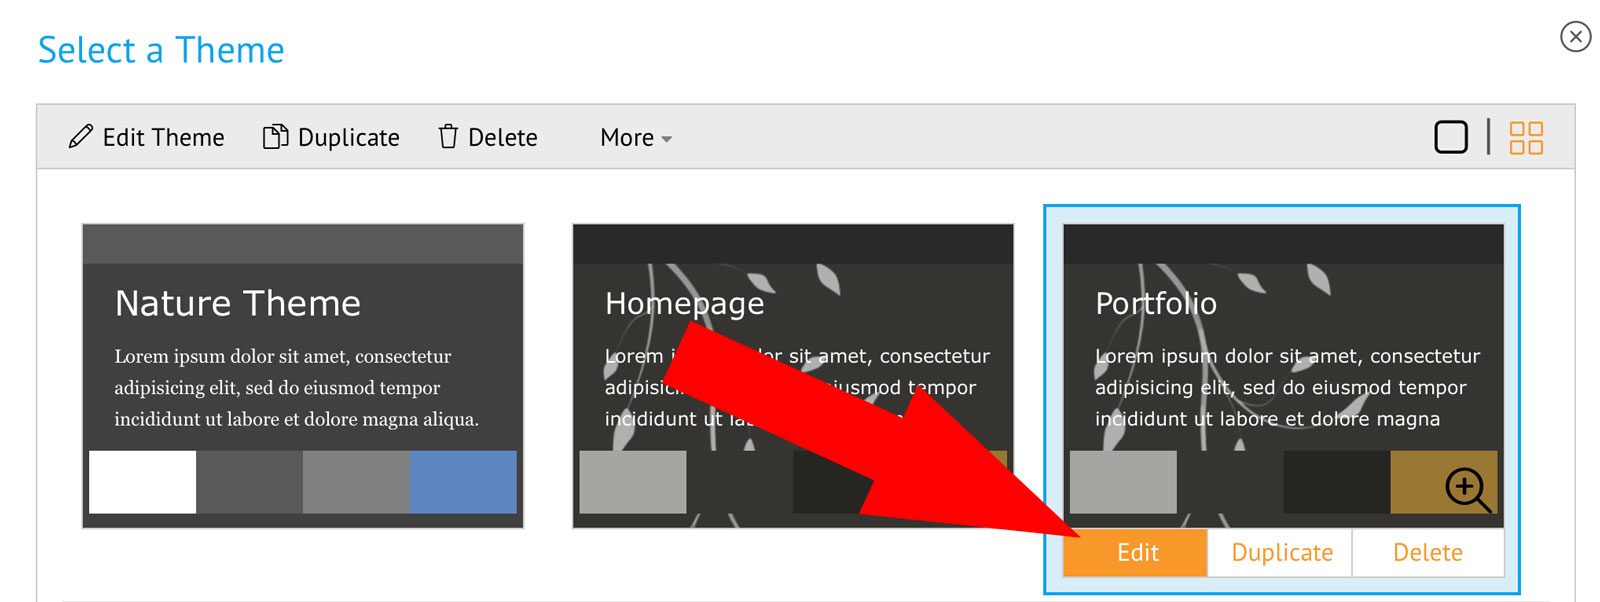
Now you need to edit your theme. Navigate to the ‘Customise Website’ section of your Zenfolio admin panel. Then, click ‘Themes’.

Next, choose ‘Edit’ for your current theme.
Once you’re here, select ‘Style’ from the tabs at the top. Look down the menu on the left, and adjust the background image.

Just upload the file you’ve created and save. It’ll then add this image to the background, and you should save your settings. Remember to adjust the few options indicated on the screenshot above. For me, that’s ‘Fixed’ for scrolling, and positioning it to the top left.
For the page mat, adjust the next section in the toolbox under ‘Mat’. To enable the mat, make sure you tick to ‘Show page mat’. You can see my exact setup here:

#2 Keep Your Menus Neat
One thing that can really hammer the user experience of your website is complicated menus. Keep them simple and organised, utilising the sub-menus in particular. You don’t need to create a new top-level link for every page, and instead you can make these appear underneath other menu headings. Here is how my menu looks:

For my gallery, I’ve organised my photos by class of animal. It’s definitely easier for customers to navigate my gallery this way, rather than having one huge collection of all my photos.
Experienced Zenfolio users may also be wondering why I have a separate shop section when the shop is actually integrated into the gallery in the first place. Since I self-fulfil all my orders, I have a gallery dedicated to the gift products I offer, such as notepads and calendars. You can see that in action here. Since the product photos for these types of things don’t fit with my portfolio gallery, I’ve separated them this way.
It’s important not to cram your site with pages, and make sure only the most necessary things are on your Zenfolio website. People won’t spend all day on there, and the more complicated it is the more likely people are to abandon your website.
#3 Add a Helpful Shopping Cart Notice
This is particularly important for those of you self-fulfilling orders, but you may want to add a shopping cart notice that your customers see before paying for their order.
Some of my products are made to order, such as the framed prints. As a result, it can take 1-2 weeks for my customer to receive their product. I want to make sure that they know about this, so I have added a notice in the shopping cart just before they pay. It looks like this:

Adding a notice like this is really simple, but you may not have seen where you can do this. From your Zenfolio admin panel, navigate to ‘Settings’ and then ‘Selling’.

After this, you’ll see a link to ‘Shopping cart messages’. This is what you want to click, and you’ll see a selection of text areas you can fill out. Zenfolio allows you to specify the shopping cart message depending on the type of product – so you can have a different one display for self-fulfilled products and vendor products.

The eagle-eyed amongst you will have spotted I have included a link to a helpful information page. This is just a custom page I have created, including lots of relevant information and some of the most frequent things I am asked by customers. I also link to this page in the sub-menu under ‘Shop’ on my website, meaning that it is always there to be accessed easily. See the page I’m talking about here.
#4 Upload Your Highest Resolution Files
Yes, you read that right. Make sure you upload your highest resolution files, without a watermark, to your Zenfolio website. Why? Well, Zenfolio is pretty clever at how it handles them.
For the photos that your website displays to the public, it’ll take your high resolution file and downsize it, applying sharpening automatically so it looks its best. It then adds a watermark, should you wish, to each file as well. Just specify the watermark under ‘Photos > Watermarks’ in the admin panel. Make sure to set it as the default too, so that it applies to all images.
Top tip: Use a PNG file with a transparent background to avoid ugly white backgrounds to your watermark. Learn how to create a watermark in this tutorial.

Having the high resolution uploaded means you can have order automatically fulfilled by Zenfolio. They can print from the high resolution, and ship off your order without you having to lift a finger. It also gives you another backup of your high resolution files as you can download them from the website later, which is very handy indeed.
#5 Adjust Your Logo for Different Pages
On my homepage, my header strip is quite large. For this I use a large logo that’s bold and displays my brand properly. On all other website pages, this header strip is smaller to avoid using up unnecessary space. The larger logo type doesn’t suit it so well, and instead I display a smaller version. It maintains my branding but is more compact. Of course, you could upload the same logo to both page types and scale one down, but for me having two versions works best otherwise the text becomes unreadable.

Having two versions display like this is really easy. Firstly, make sure you have two relevant files of your logo prepared and saved as PNGs with transparent backgrounds (unless you want ugly block colour backgrounds on them). Let’s upload the larger version first. Head to the Customise Website section, and select ‘Options’ from the top.

Then, you’ll be faced with a pop-up like this. Select ‘Logo’ and upload the larger file. Click save, and that’s done!
Now for the smaller logo. Select ‘Site Header’ from the bottom of the menu on the ‘Customise Website’ page. Upload your next logo on the pop-up screen as before.
![]()
#6 Create Custom Emails
You can adjust the emails that Zenfolio automatically sends out to your customers. Head to ‘Communications > Email Communications’ in the admin panel, and customise the relevant email templates. You can edit everything from invitations to view certain collections, to order confirmation emails. This is handy if you want to add particular notices or just give your emails a personal touch.

Top tip: See where it says ‘Contact List’ in the menu above? Zenfolio keeps a record of everyone who has ordered from your website here. This is a great way of keeping in touch with all your past customers!
Why Not Try Zenfolio?
Zenfolio are offering you a free 2-week trial, with no obligations. Set up your own Zenfolio website and see how you like it. For an example of what can be done, I recommend having a browse of my photography portfolio.
If you then go on to choose Zenfolio for your website hosting needs, make sure you enter the code willnicholls at checkout to get 20% off your subscription.
What do you think of Zenfolio? Do you have any tips that have worked for you? Let us know in the comments below! I’m also happy to help with any questions you may have about Zenfolio – so post away below!


