
How to Photograph the Milky Way

With us now heading into summer, it’s never been a better time to photograph the night sky. Especially the Milky Way galaxy, as it visible at a more sociable time of night. In this feature, I’ll cover everything you need to learn how to photograph the milky way. We’ll look at settings, equipment, location hunting, and other key things for Milky Way photography. I’ll show you a guaranteed way to increase your skill set and library of images.
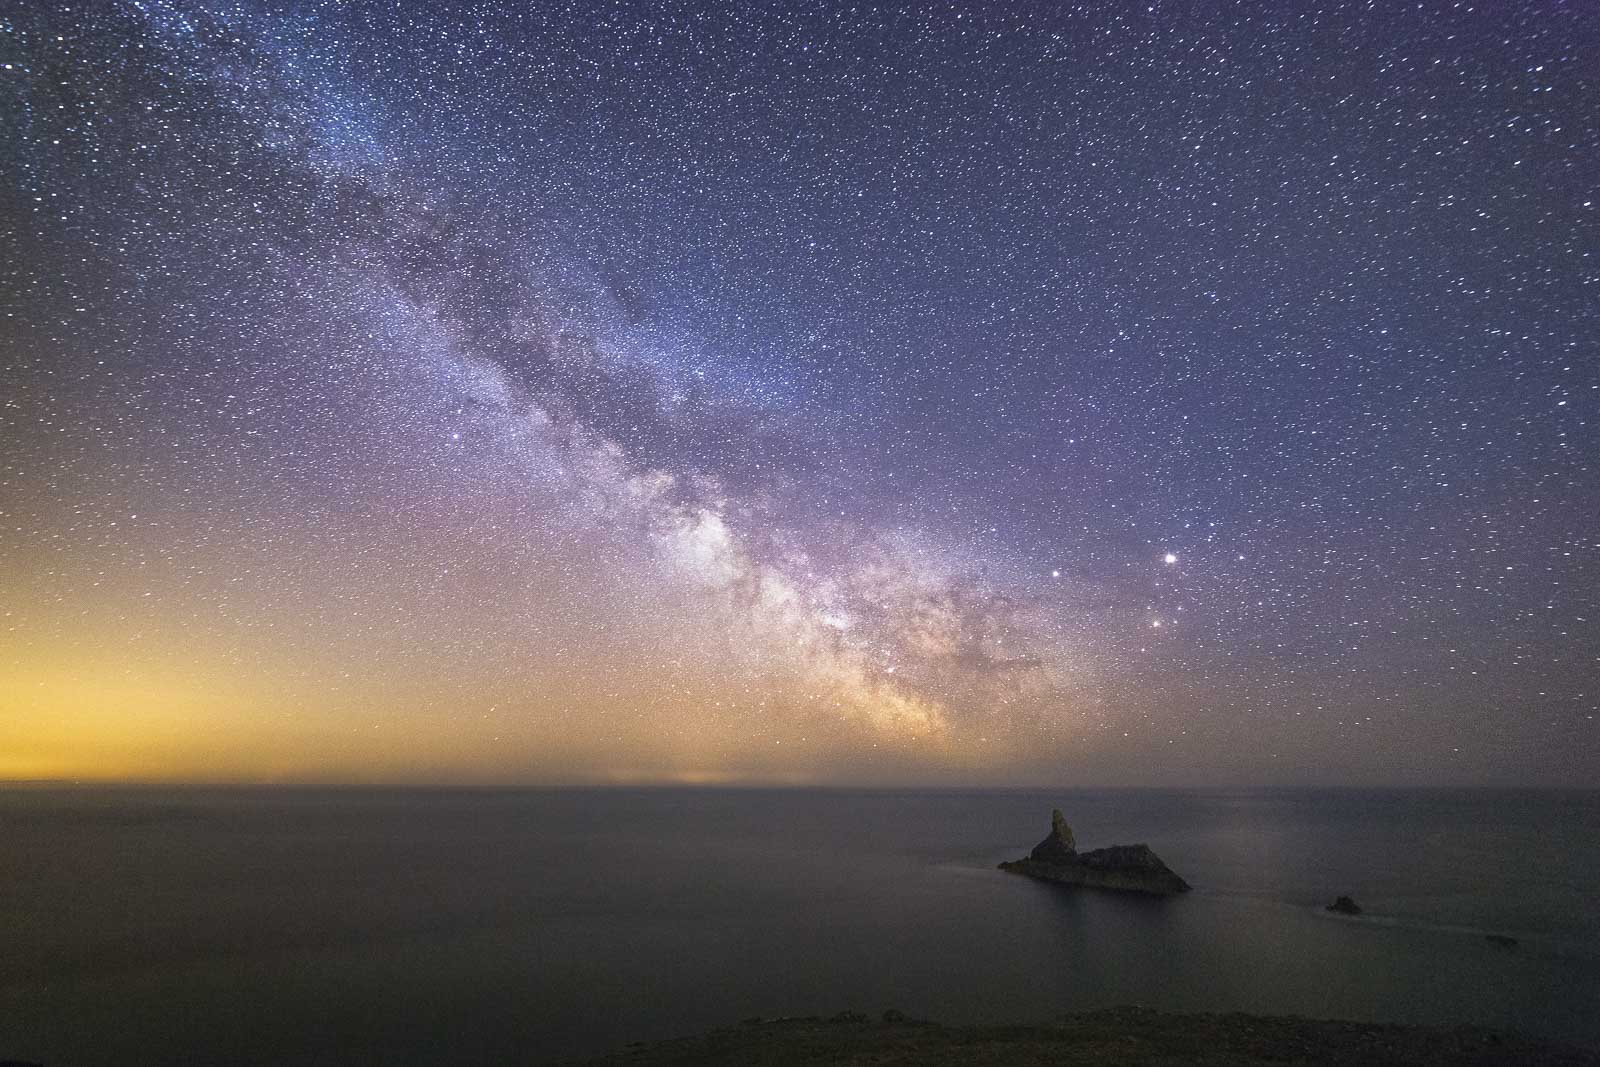
I’m guessing some of you who read this have never seen the Milky Way streaking over your head whilst out on a dark night, especially if you live in or near to a city with light pollution all around. Thankfully, I’m quite blessed with dark skies in south Pembrokeshire in Wales, so seeing that magical band of stars and nebula is an all too common sight. However, the first time you see it is something you will always remember.

We’re actually looking out into our own solar system when we gaze skywards, and from our vantage point on Earth, the Milky Way appears to be a faint band that arches across the sky. The 400 billion distant stars are so densely packed that their combined light appears to us as a milky cloud, but to see this amazing sight you’ll have to head for the hills or anywhere away from the city lights. Pick a clear night, point your camera up and prepare to be amazed!
The Best Locations for Milky Way Photography
There’s no denying you’ll need a dark, clear night, a remote location away from light pollution (and also for there to be no moon) for Milky Way photography. The moon can be handy for photographing some night scenes, by helping to illuminate the foreground, for example. However, the moon tends to wash the sky out when it’s present, with only the brightest of stars showing through. So, for night sky and Milky Way photography, you need a pitch black sky. For help in finding an area away from light pollution, check out this handy light pollution map to get an idea of places to visit near you.

Using a long exposure is the best method of capturing lots of stars in the sky, however you can’t record what isn’t at all visible – so if you can’t make out the faint band of the Milky Way, chances are it won’t show too well on camera. Plus, any light pollution will be intensified by a longer exposure, so it’s really important to be in a dark area. Sometimes all that’s needed is a short drive into the countryside.
Through the summer months, the Milky Way rises each night from a roughly south-east direction to the west as we rotate, and usually around an hour before first light will the core be at its peak, with its vivid nebula and cloud colours. For me, this is the best time to capture it. It’s also worth noting that over the season the angle of the band will increase, going from 45 degrees through to an almost vertical strip, so this can also determine where and when you capture it. Check out a free program called Stellarium to pre-visualise and plan your shoots for the best outcome of your Milky Way photography trip.

Equipment for Milky Way Photography
Well, you won’t get far with Milky Way photography without your camera! Digital is preferred: a DSLR or Mirrorless Interchangeable Lens Camera which has a full frame sensor, offering the best low-light performance. These cameras tend to bring the benefits of being able to shoot in raw, as well as using a manual mode to take full control.
You’ll need a sturdy tripod that will keep the camera still throughout long exposure times. Even the slightest knock or gust of wind can cause camera shake, making your images blurry, so it’s vital to have a good solid tripod. Another important piece of kit not to forget is a torch, and one that has a red light is preferred as you’ll still be able to see but it won’t dazzle you.
Warm clothing, hot drinks or snacks are another thing to think of. You’ll most probably be outside in the cold night for a good few hours, so it’s always worth bringing and wearing things that will keep you comfortable during your time – even a chair to sit on while the camera clicks away. Also, a shutter release cable is advisable so you don’t knock the camera while exposing. But the 2 seconds self-timer mode works just as well!

Lens Choices & Settings
I’d say after the camera, this is the next vital part of kit for your evening’s shoot. Wide-angle lenses are usually the best choice, allowing you to capture a scene that includes interesting foreground and also a vast expanse of star-filled sky. Some foreground elements to watch out for could be reflections of still lakes, old buildings or interesting natural elements such as trees and mountains. As in regular landscape photography, the foreground is just as important as the rest of the scene; stars are beautiful on their own, but by using a great foreground you’ll be creating the mood for the rest of the image and structuring the composition.
Your chosen lens will also need to be fast, meaning that it has a large maximum aperture. The bigger the aperture, the more light can flood in, rendering more information (stars) onto the sensor while the shutter is open. More light means a brighter Milky Way, reduced exposure times and lower ISO – all plus points! Ideally your lens should have a maximum aperture of f/2.8 or less, however you can capture night sky scenes with lenses with apertures or f/4 or higher; you’ll just be losing out on the light intake over the exposure time compared to that of a lens of f/2.8 for instance.

Recommended Lenses for Milky Way Photography
Here are a few recommendations for Canon users looking for lenses:
If you are a Nikon user, then have no fear for here are my recommendations for you:
- Nikon 14mm f/2.8D ED AF
- Nikon 14-24mm f/2.8G ED AF-S
- Nikon 16mm F/2.8D AF Fisheye
- Nikon 17-35mm f/2.8D ED-IF AF-S
- Nikon 20mm f/2.8D AF
… and my personal favourite, the Samyang 14mm f/2.8 lens. It’s available for all brands, and is cheap as chips and probably the best tool for the job!
Another plus point of using a wider lens is that it’s ultimately the yardstick of which all of your exposure settings will be judged from. While it’s not obvious to us all, our planet spins on its axis one revolution per day. As such, when we use longer exposure at night, the motion becomes visible by the trailing of the stars. In star trail photography we love this and can’t get enough of it, but as we’re after what is called ‘Widefield’ imaging, we want the stars to be rendered as neat dots and not streaking lines. This is where the next step comes in!
How to Avoid Star Trails
Sometimes we want to create star trails in our images, but when you’re taking a normal image at night this is something you want to avoid (especially in Milky Way photos). Otherwise, stars begin to streak and look blurred. The maximum exposure time you can use, whilst keeping stars properly sharp, depends on the equipment you’re using, as well as the greatest angle of the stars to the Earth.
You can use this handy calculator to work this out for yourself.
Further Reading: Star Trails: How to Take Captivating Night Sky Photos
Setting the Aperture
Aperture wise, I’d always have the lens wide open for night sky photography, allowing lots of light in. It’s worth noting that when you use a lens wide open, lens aberrations can become more apparent when you view your images at full size, particularly something called Comatic Aberration, or Coma as it’s known. Coma is when stars are captured and appear to be elliptical in appearance rather than dots. Coma is always more obvious to the corners of the image and can be reduced significantly by stopping the lens down one or more stops, however this will lose light intake. In most cases, though, it’s not that obvious, and I’ll always opt for more light intake than worrying about minute changes to the appearance of your stars.

Choosing Your ISO
ISO is your best friend with Milky Way photography! Now that you know your shutter speed which is dependent on your focal length used, and you’ve set the aperture to wide open, all that’s left of the exposure triangle is to set your ISO. The ISO setting adjusts the sensitivity of your sensor to light; the higher the ISO, the brighter the image will be. The higher the setting, however, the more noise will be visible in your image.
Personally, with night sky photography, I’d always opt for more light than worrying about pixel quality and noise. The difference can be marginal, and there’s some great noise reduction software out now plus some more advanced post processing techniques to almost remove the noise completely! I’d start with an ISO at around 1600, but make sure to check how the image looks by zooming in on your LCD. Most of the time I’ll be shooting around 3200, but I have captured some successful results at ISO 6400. All camera sensors are different in how they handle high ISO noise, so choosing the right speed will depend on what best suits your camera.
Further Reading: “Choosing the Optimum ISO Speed“

Focusing Your Shot
I’d always focus on the stars themselves for wide field imaging. If you can manage to autofocus on them then great, but if not then manual focus is needed. I always look for a bright light source near me when I’m out, be it a distant light, radio mast, or something that’s a fair distance away. Turning Live View on and magnifying the screen over the light source will help you to pinpoint it. Then, it’s just a case of manually focusing on it using the focusing ring on the lens. Remember to set your lens to manual focus so the camera doesn’t adjust this in between frames!
Read more: How to Get Sharp and In Focus Stars in Starscape Photos
You can also do this in the daylight, and then tape up your manual focus ring to ensure you don’t knock it. The reason it is good to do this manually, is that focusing to the infinity marker on some, if not all, lenses is not always 100% accurate. It is easy to ruin an image with out of focus stars by not noticing your focus is off by a few mm.
Night Sky Checklist
- Set tripod up on firm ground and lock down legs
- Make sure image stabilisation is switched off (if your lens has it)
- Switch to manual mode and make sure raw image format is selected
- Attach your shutter cable release or turn on 2 second self timer mode
- Gain and lock in focus on the stars, switching to Manual Focus so it doesn’t change
- Make sure you know your maximum shutter speed to avoid star trails
- Compose your image
- Set your Aperture to its widest setting: f/2.8, for example
- Change your ISO speed to about 1600, and go from there!
- Hit the shutter release!s


