
How to Photograph Mushrooms
Mushroom photography is hardly the most glamorous of genres, is it? Compared to shooting colourful and interesting birds, flowers or rolling landscapes, toadstools and mushrooms probably seem like a rather dull option. Typically growing in dark, dank and inaccessible places, you have to be prepared to get down and dirty to achieve good shots.
owever, if you’re a nature photographer, don’t overlook their picture potential. After all, they are one of our planet’s oldest and most fascinating life forms, existing for millions of years and evolving into an extraordinary and varied range of species.


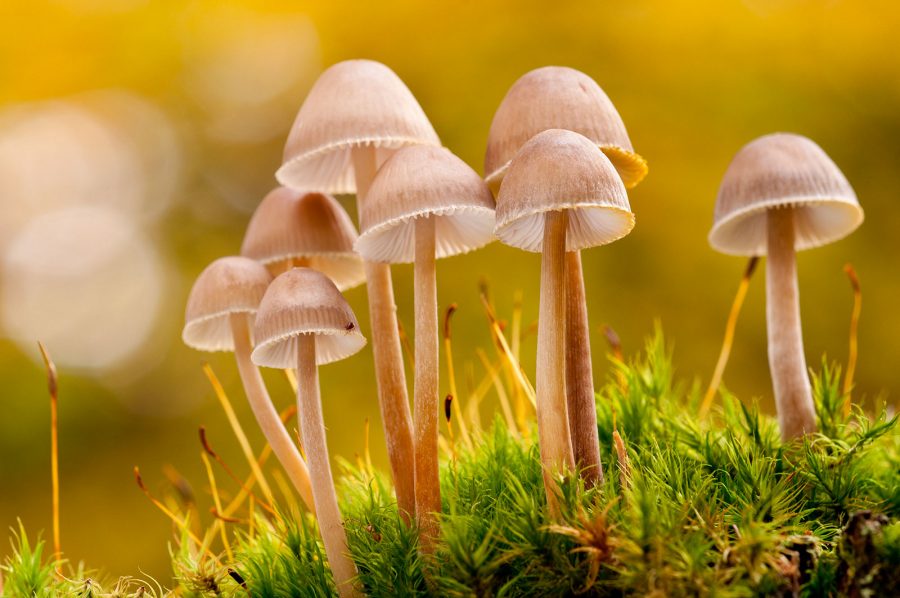
They come in all sorts of shapes, sizes and colours, and here in the northern hemisphere they are at their peak right now – during autumn. At this time of year, they seemingly appear overnight – almost magically – decorating lawns and woodland interiors. If you’ve never tried capturing them before, now is the time to give it a go.
They can be shot in situ – in context with their environment – or in a frame-filling close-up. Whatever approach you favour, only a relatively basic setup is required, so this is a highly accessible natural subject.

What Kit Do You Need?
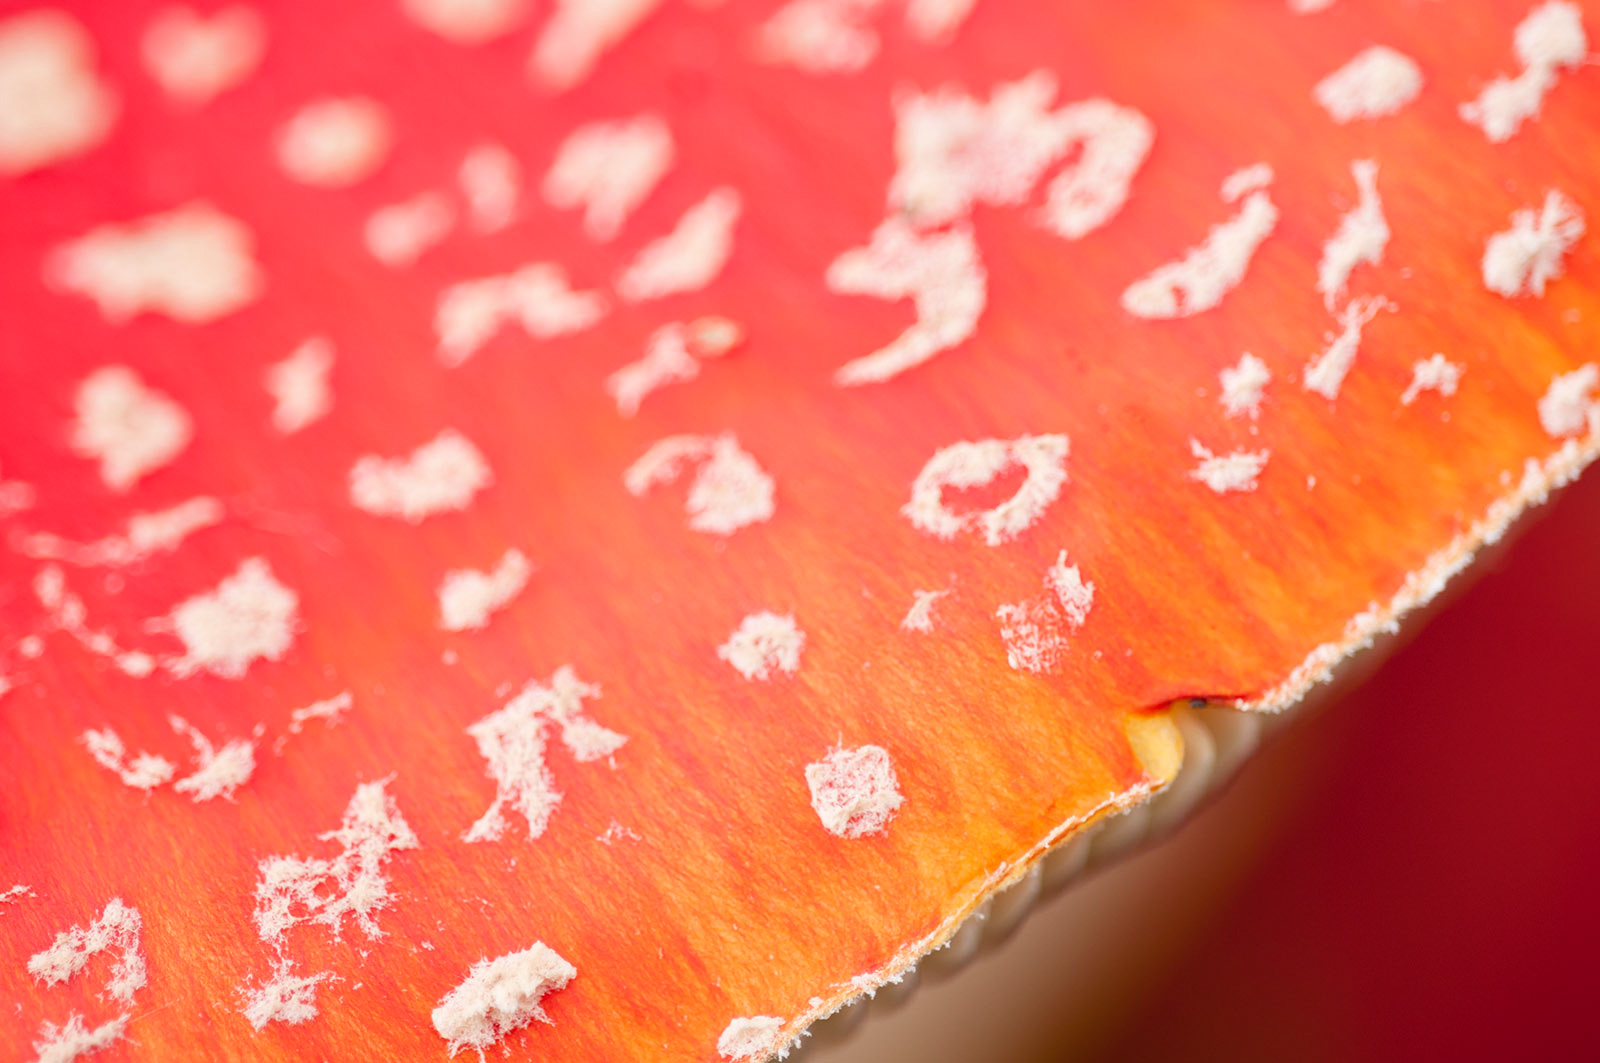
You don’t have to have a particularly sophisticated setup to photograph fungi. A close-up filter or extension tubes will suffice, while for larger species, like fly agaric, a telephoto or wide-angle lens will provide interesting and contrasting perspectives.
However, a dedicated macro lens is the best choice for close-ups. I favour a 200mm macro lens for fungi (personally, I use the Nikon 200mm f/4 micro), due to the larger working distance and condensed perspective it provides.
But a macro lens in the region of 100mm is a great choice. For information on the best kit for close-up photography, read our Introduction to Macro Photography: Equipment.

You will often be working in damp, muddy places, so it is also worthwhile carrying a groundsheet to help prevent you and your kit getting wet and dirty. Your environment will also be quite dark, so a small reflector will prove useful for relieving dark, ugly shadows, while an LED light (like Manfrotto’s range of LUMIMUSE devices) is ideal for creative lighting.
Shutter speeds will often grow quite lengthy when shooting fungi in woodland, due to the inherent lack of light and also the frequent need to select a smaller aperture to provide a larger depth of field. Therefore, a good tripod, with low-level capacity, is another must have item on your kit list. Personally, I use a Gitzo Systematic as it lacks a centre column and can therefore be positioned at a low level very easily.
Lastly, a blower brush can be useful for removing specks of dirt from delicate subjects – I find it is often quicker and more effective to do this prior to taking the photo, opposed to trying to clone them out during post processing.
Timing
Through the viewfinder, or LiveView, you truly begin to appreciate the delicacy and design of toadstools. A visit to a local woodland at the right time of year will result in lots of finds – waxcaps, stinkhorns, puffballs, death caps and fly agaric (the ‘fairytale’ mushroom) are just a handful of the types you might expect to see. The older the woodland, the more mycelium – the fungus’ roots – will occur, enhancing the likelihood of finding variety.
Search carefully. Look for fungi growing on decaying stumps and amongst rotting tree matter, fallen branches and dense leaf deposits. Often the hardest job is finding suitable subjects in the first instance.
heck carefully that potential subjects are pristine and not weathered or nibbled by slugs and bugs – any imperfections or blemishes will appear exaggerated in close-up.
The variety can be staggering. Some species will form large clumps, while others grow alone. They can be large and relatively easy to spot, or small, hidden and well camouflaged.
Fungi can emerge suddenly and disappear again almost just as quickly. Therefore, it is worthwhile visiting local woodlands regularly during autumn – what you will find can quite literally change from one day to the next.
Technique
Having located your subject, you need to consider shooting angle. Often a parallel, or worm’s eye, viewpoint works well. With mushrooms, a low angle is often the best choice, as the lower perspective will allow you to highlight the subject’s gills. The gills often look interesting and, being translucent, suit being backlit – either naturally by sunlight or using an LED light to mimic the effect.
Achieving such a low viewpoint can be challenging, particularly if the subject is growing close to the ground. In the past, a right-angle finder would have been required to compose and focus shots. However, today, LiveView is a great aid for low-level work, particularly if you have a digital SLR with a vari-angle/tilting monitor. Using one will prevent you from having to contort your body awkwardly to compose your shots.

As mentioned before, natural light is normally in short supply under the dense leaf canopy of woodland. To complicate things further, a mushroom’s gills and stem will typically receive less light then its cap, so if you opt for a low viewpoint, you really need to supplement the light in order to keep it balanced. Flash is one option, but I prefer manipulating natural light using a small reflector or LED device. The advantage of using bounced or LED light is that you can preview and regulate its effect prior to taking the shot. A sheet of white card, a mirror, or kitchen foil will also do the job.

As with all close-up subjects, a lack of depth of field is a common challenge. In my experience, an aperture in the region of f/8 will normally provide an acceptable level of sharpness. That said, some types of fungi are oddly shaped, which can complicate how much depth of field is required. For example, a toadstool’s cap can extend much closer to the sensor plane than its stalk.
To keep both acceptably sharp, a smaller aperture will be needed. The exact f-stop required will depend on the subject size and type; the level of magnification; the effect you desire – be prepared to experiment with settings. If you can’t achieve the depth of field you require in one frame, consider ‘focus stacking’. This is a digital technique where you shoot a number of frames, adjusting the point of focus incrementally, in order to merge together during processing.

You will find it is often important to do a spot of ‘gardening’ when shooting fungi. To ensure your shots are aesthetically beautiful, check your subject’s background is clean and uncluttered. Carefully remove any distracting twigs or dead leaves from the background before releasing the shutter.
Try to keep compositions simple too. For example, it is often better to isolate just one or two mushrooms, rather than photograph a large, spread-out group. Deliberately using a shallow depth of field in order to isolate subjects against a diffused backdrop can work particularly well.
So what are you waiting for? Grab your camera kit and visit your local woodland to photograph the fruits of autumn.


