How to Remove Dust Spots from Photos with Photoshop

Have you ever looked at a photo you’ve taken and noticed small, strange marks on it? These are caused by dust on the sensor of your camera. The smaller your aperture (higher f-stop number), the more likely it is that any dust spots will appear in the image. This is because the depth of field is greater, so they will come more into focus.
For images with plain coloured backgrounds, these spots can be quite obvious. Fortunately, most spots can be easily removed using Photoshop (or other similar editing software). Don’t forget that you should still clean your sensor, and keep it in good shape. Take a look at “How to Clean Your Camera’s Sensor” for an easy step-by-step guide on how to do this.


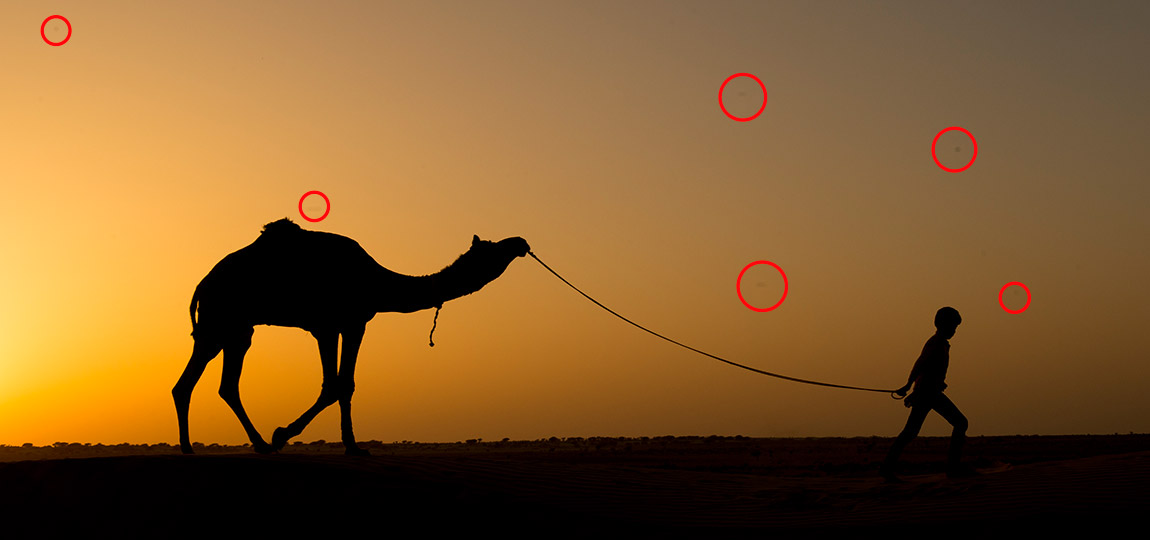
Here’s an image I took that needs some cleaning up. I’m quite ashamed how dirty my sensor must have been for this picture! All the red circles are around dust spots that need removing.

Removing a Dust Spot
The tool that will help you to quickly remove these annoying marks from your photograph is called the “Spot Healing Brush Tool“. You effectively draw over the spot with the brush, and Photoshop samples the surrounding area. It then fills in the gap, and it is like the dust spot was never there.
To do this, open your dust-covered image in Photoshop. Then select the spot healing brush from the sidebar. Now, colour-in all of the dust spots one by one. The tool makes a black mark on the image to show your selection, but once you release the mouse it disappears along with the spot below it.

Believe it or not, that’s it! It’s a really simple trick and is seen as “industry standard” in the photographic community. Don’t feel like you’re cheating by removing these spots – even major competitions allow this edit.
Dust Spots and Busier Backgrounds
It is unlikely that a dust spot will be visible anywhere that isn’t a solid colour. This is simply because it won’t stand out, and you probably won’t even notice it is there. However, if this does happen and the spot healing brush isn’t working so well for you, try using the clone tool instead. This requires a little bit more attention, as it copies exactly what you set it to mirror. The advantage is that it won’t be affected by any complicated surroundings like the spot healing brush will be.


